Tools

Piskel Homepage
To start using Piskel for pixel art animations, go to their website at https://www.piskelapp.com. On their homepage, you can see example art and animations along with the “Create Sprite” button. To get started, click either the Create Sprite button on the left or top right.
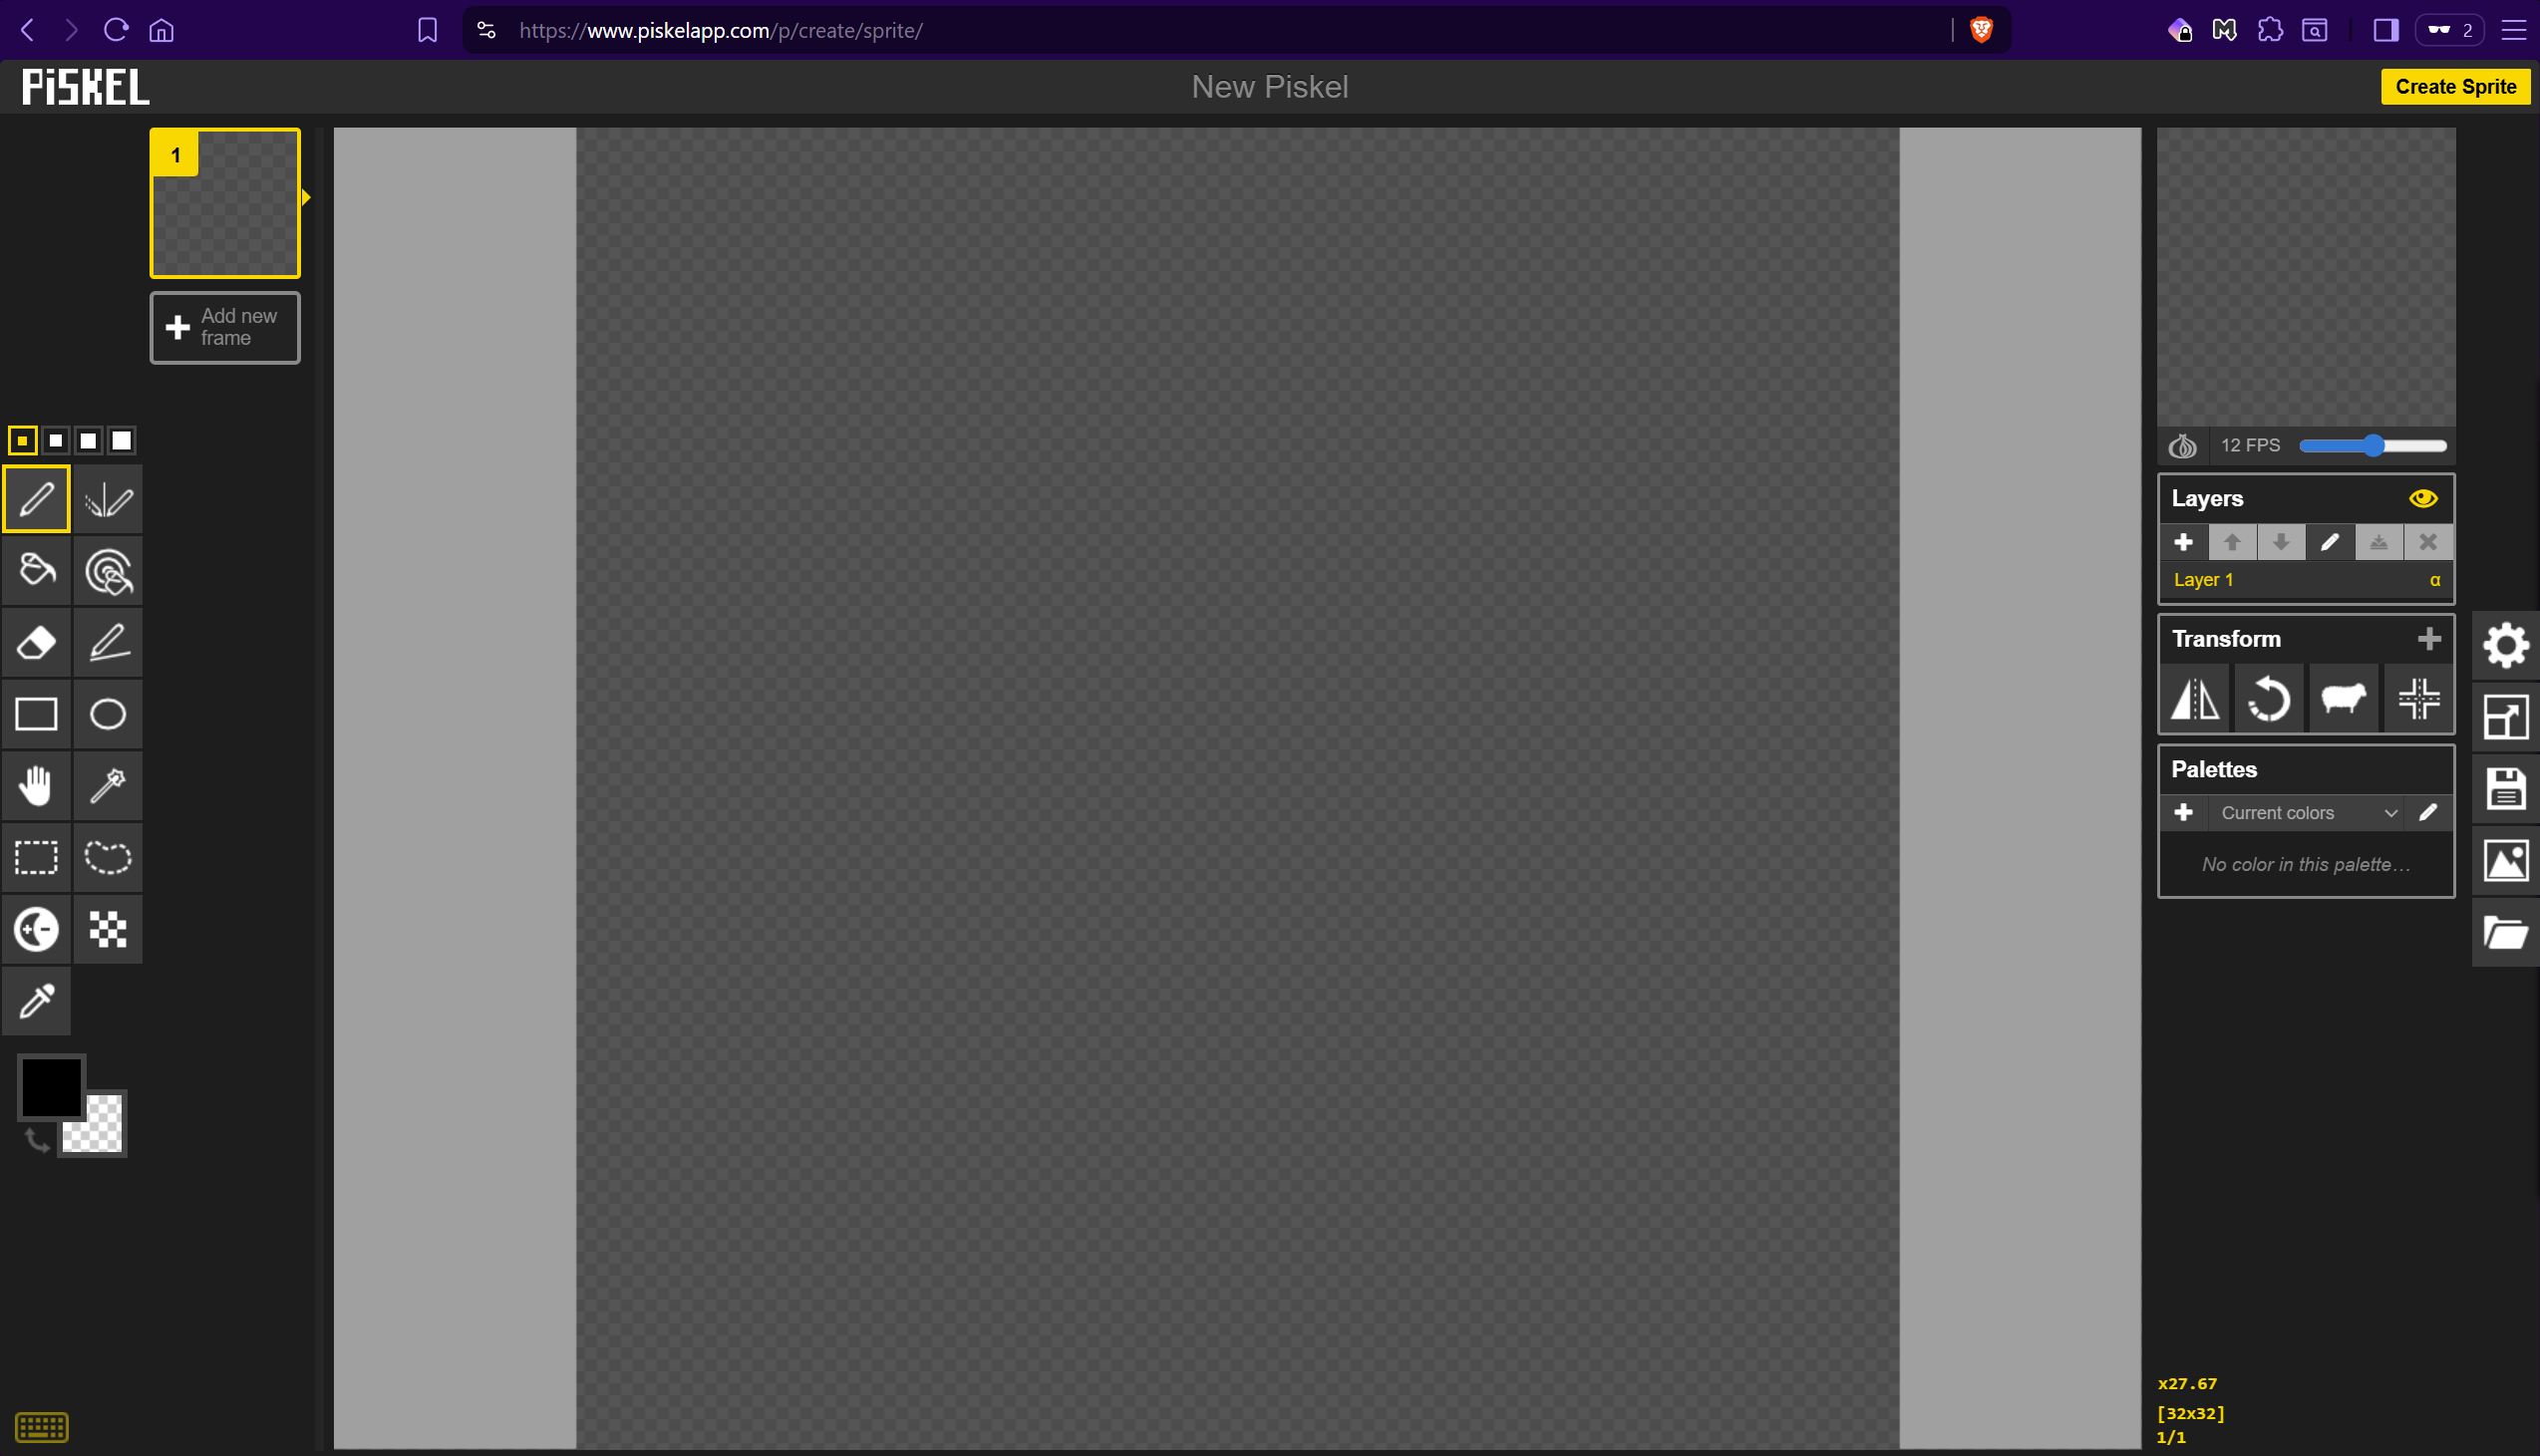
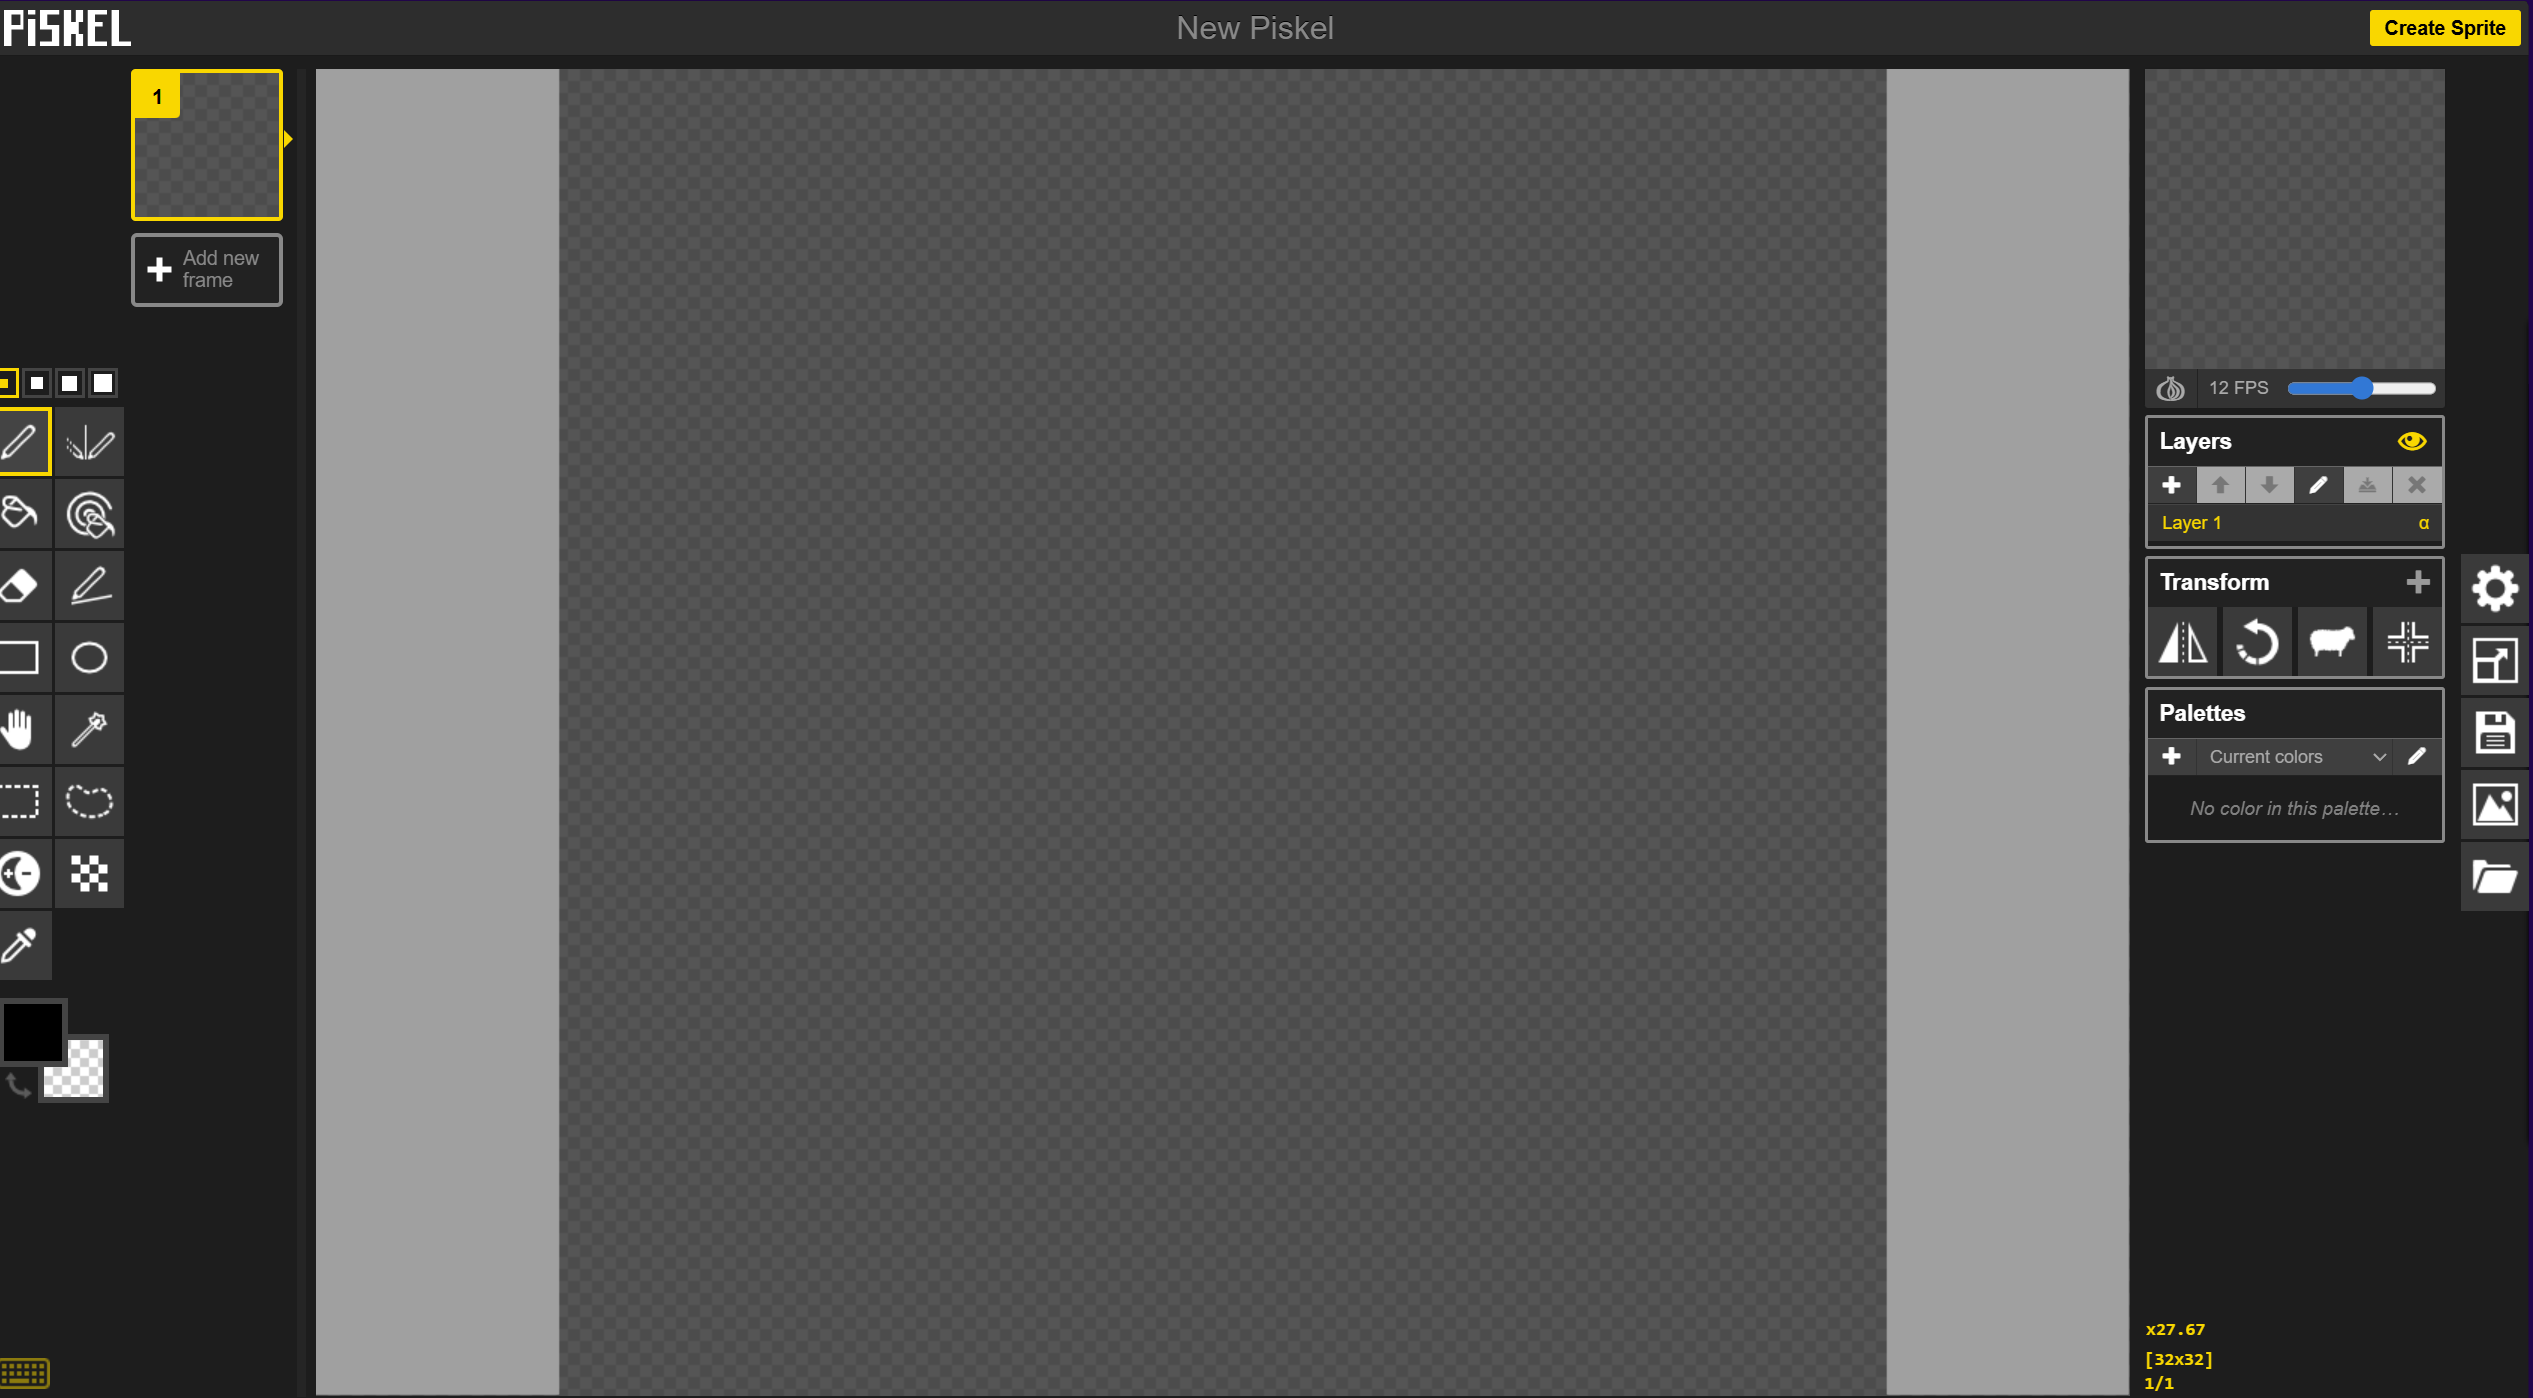
The Interface
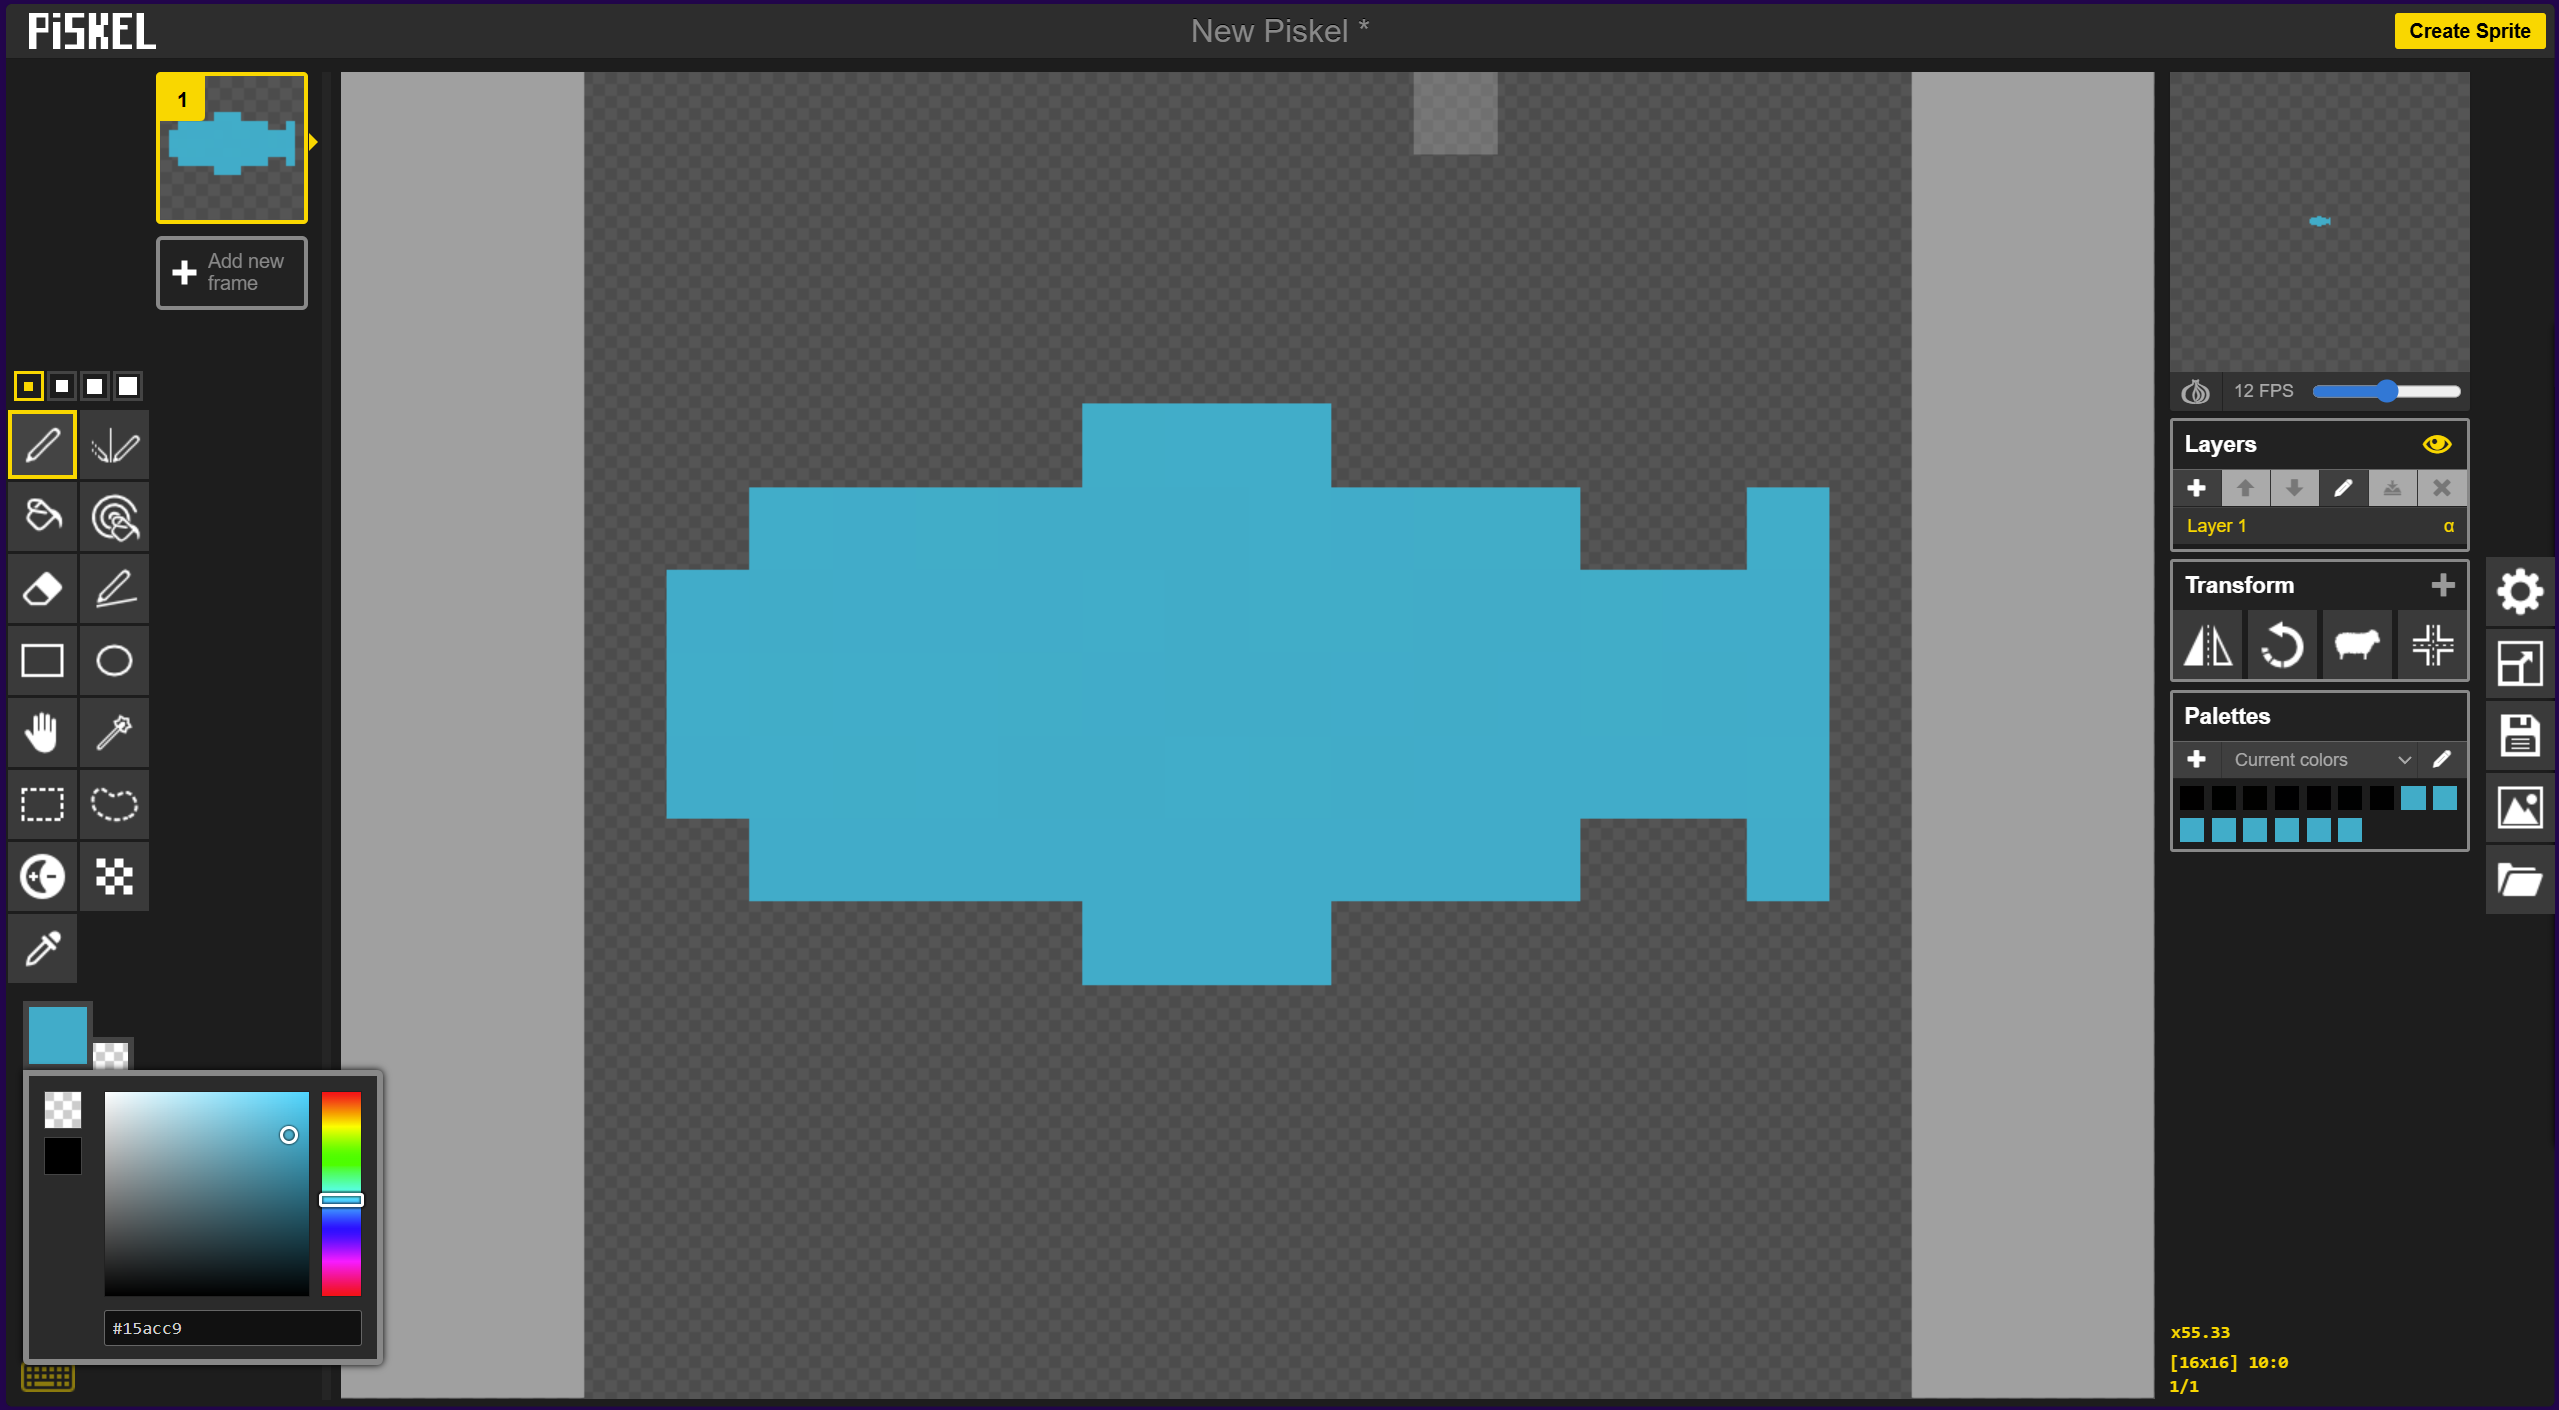
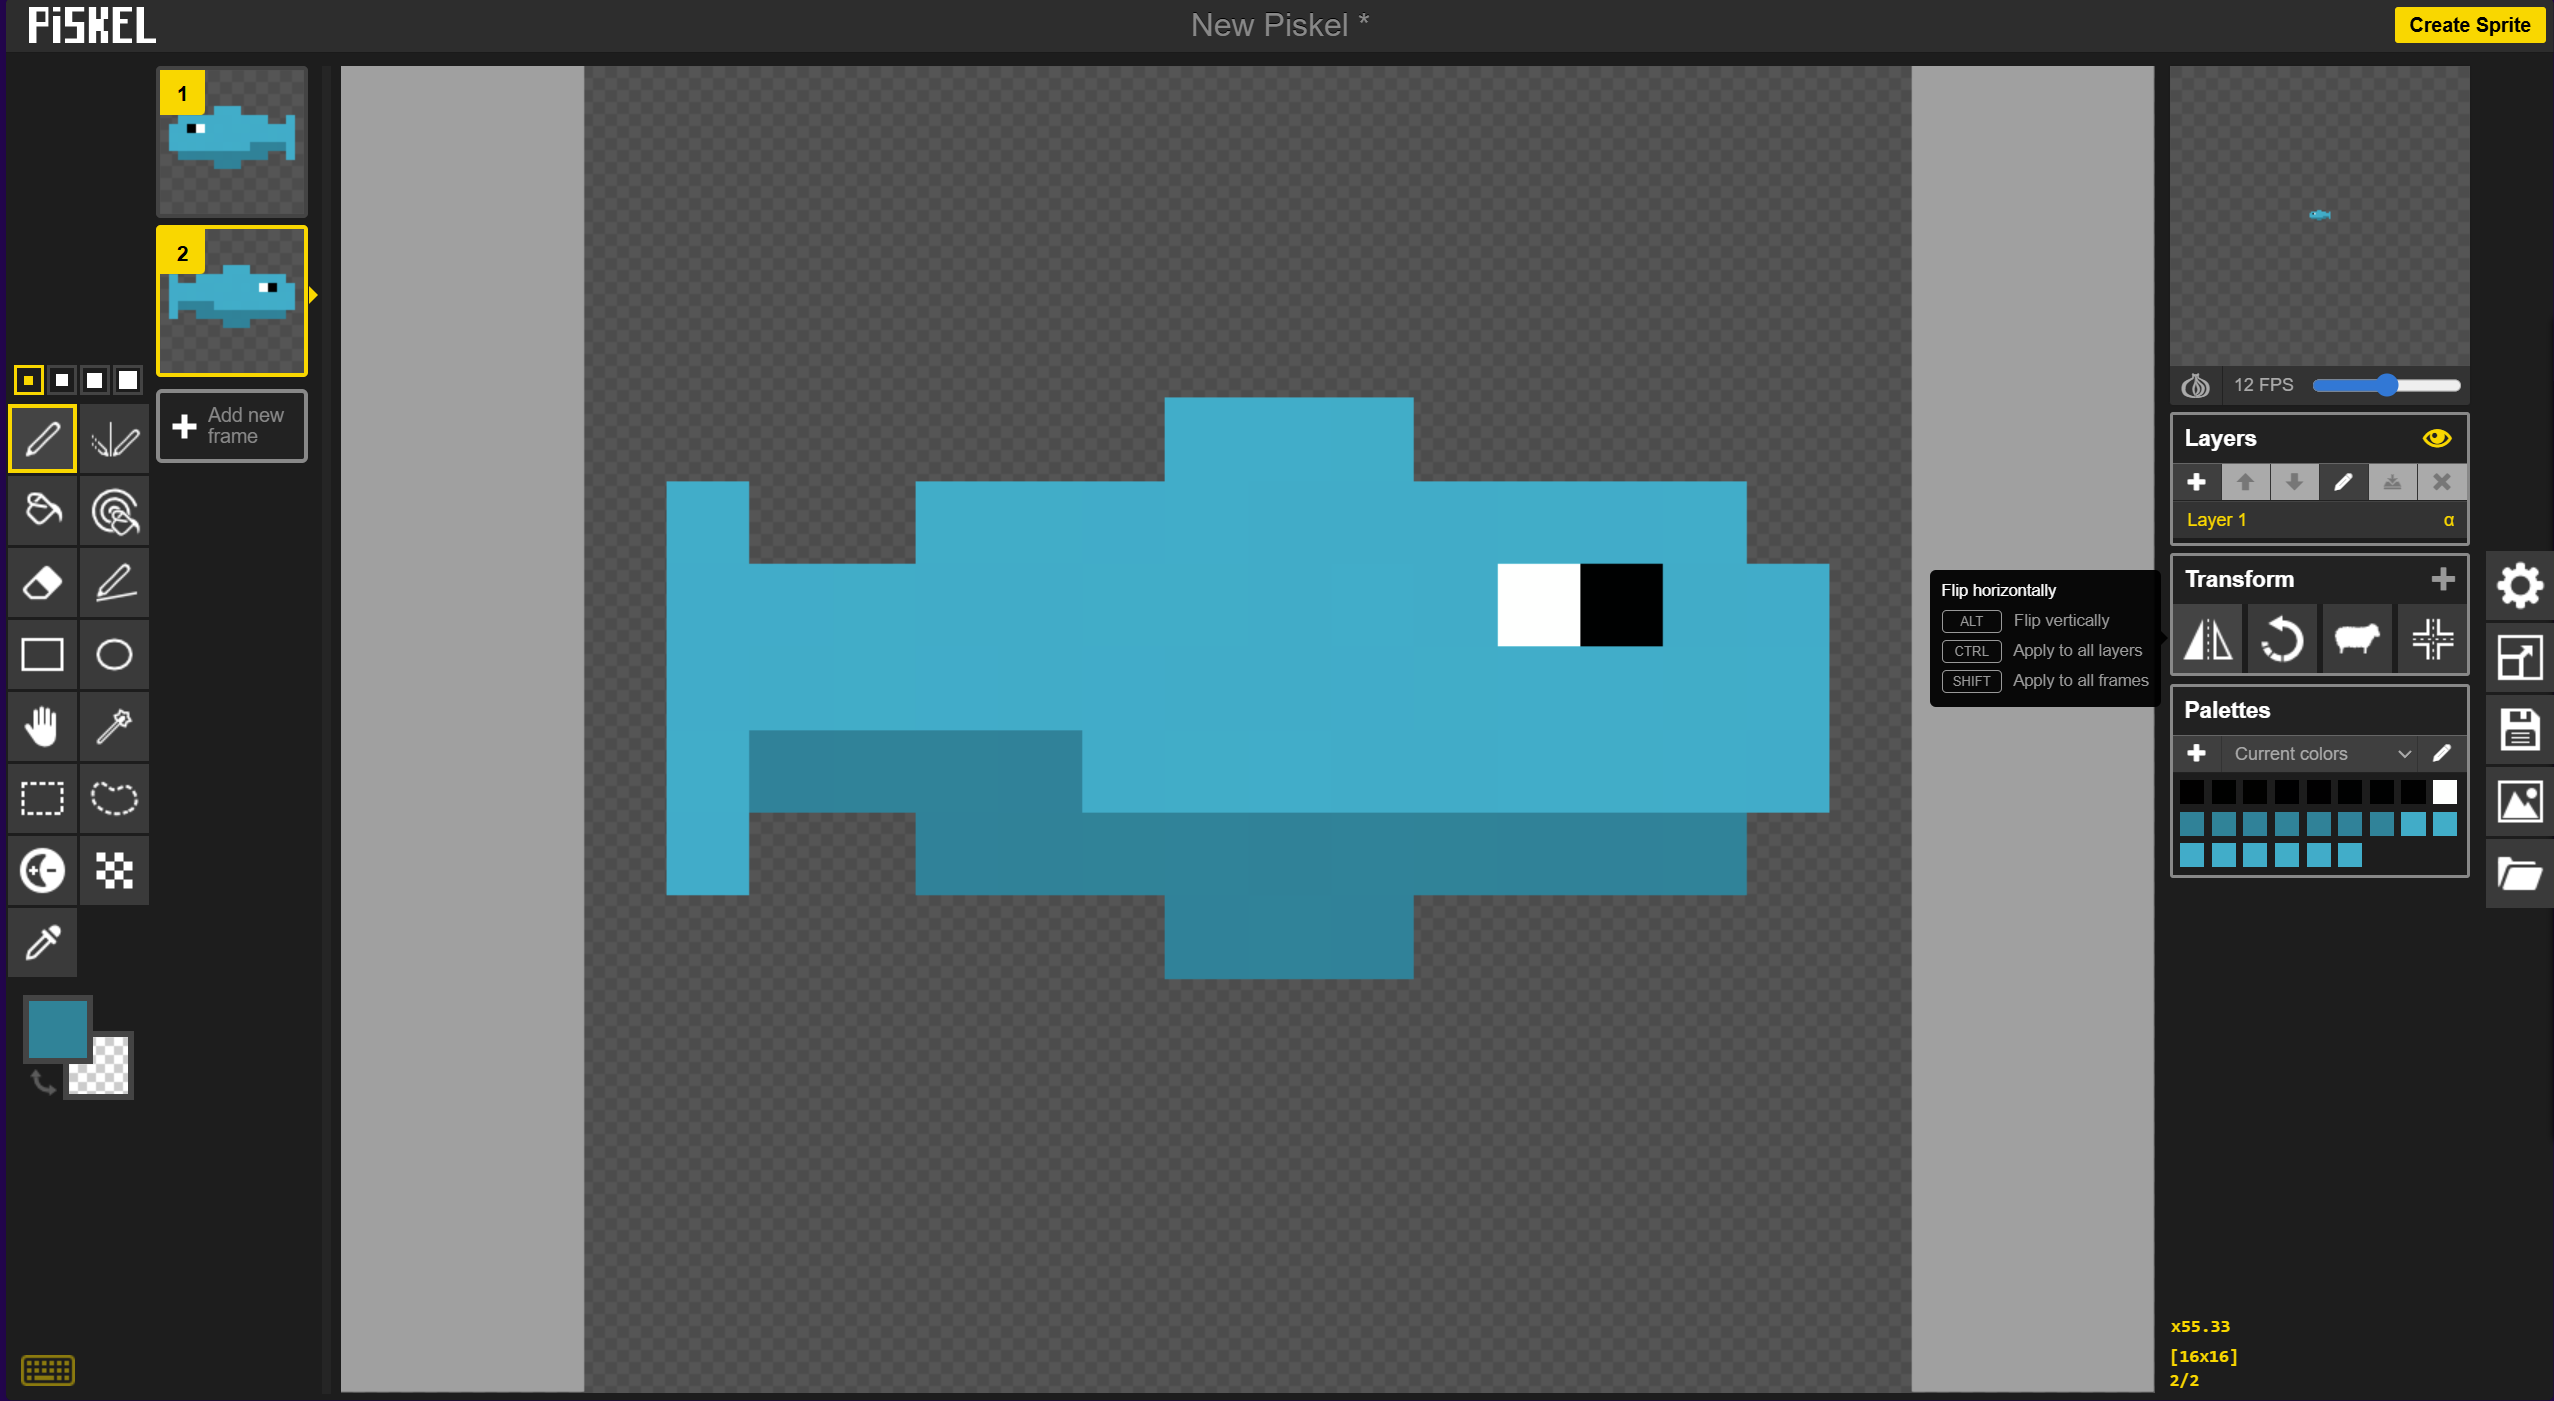
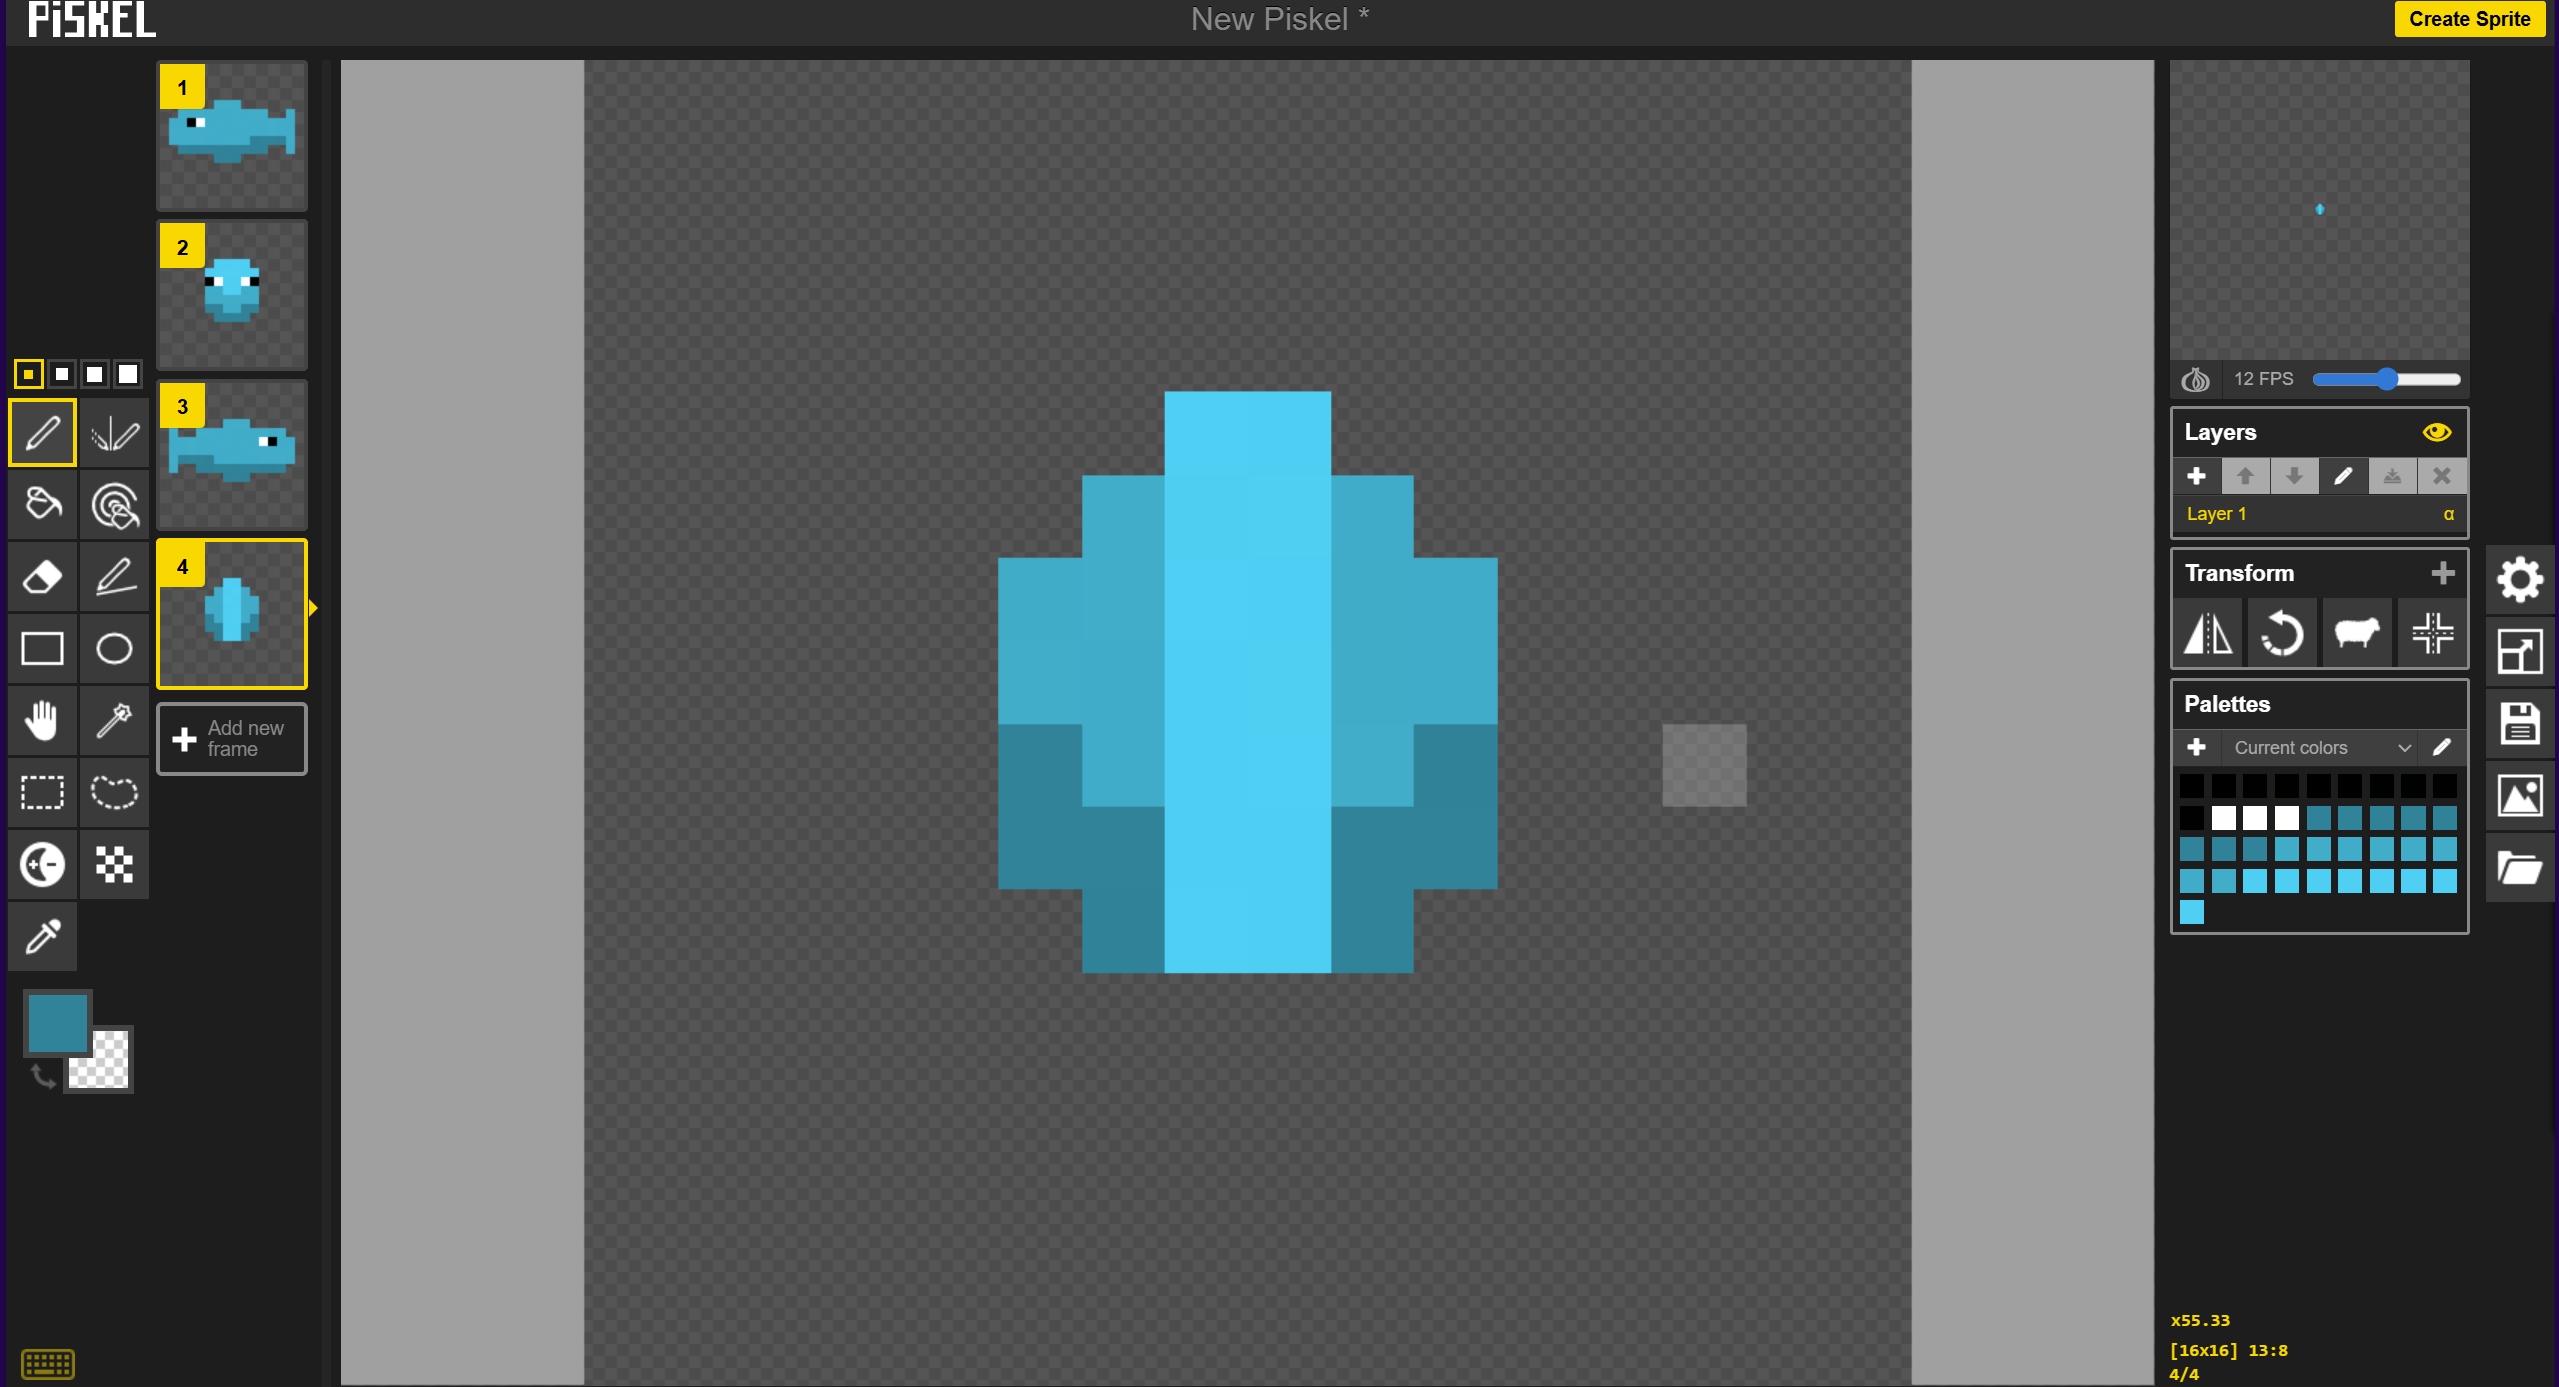
When creating a new sprite, you’ll be greeted with a blank interface. It provides the main drawing area in the center, drawing tools on the left, animation frames in the top left, animation preview and transform tools on the right, and file tools on the far right.

Drawing Tools
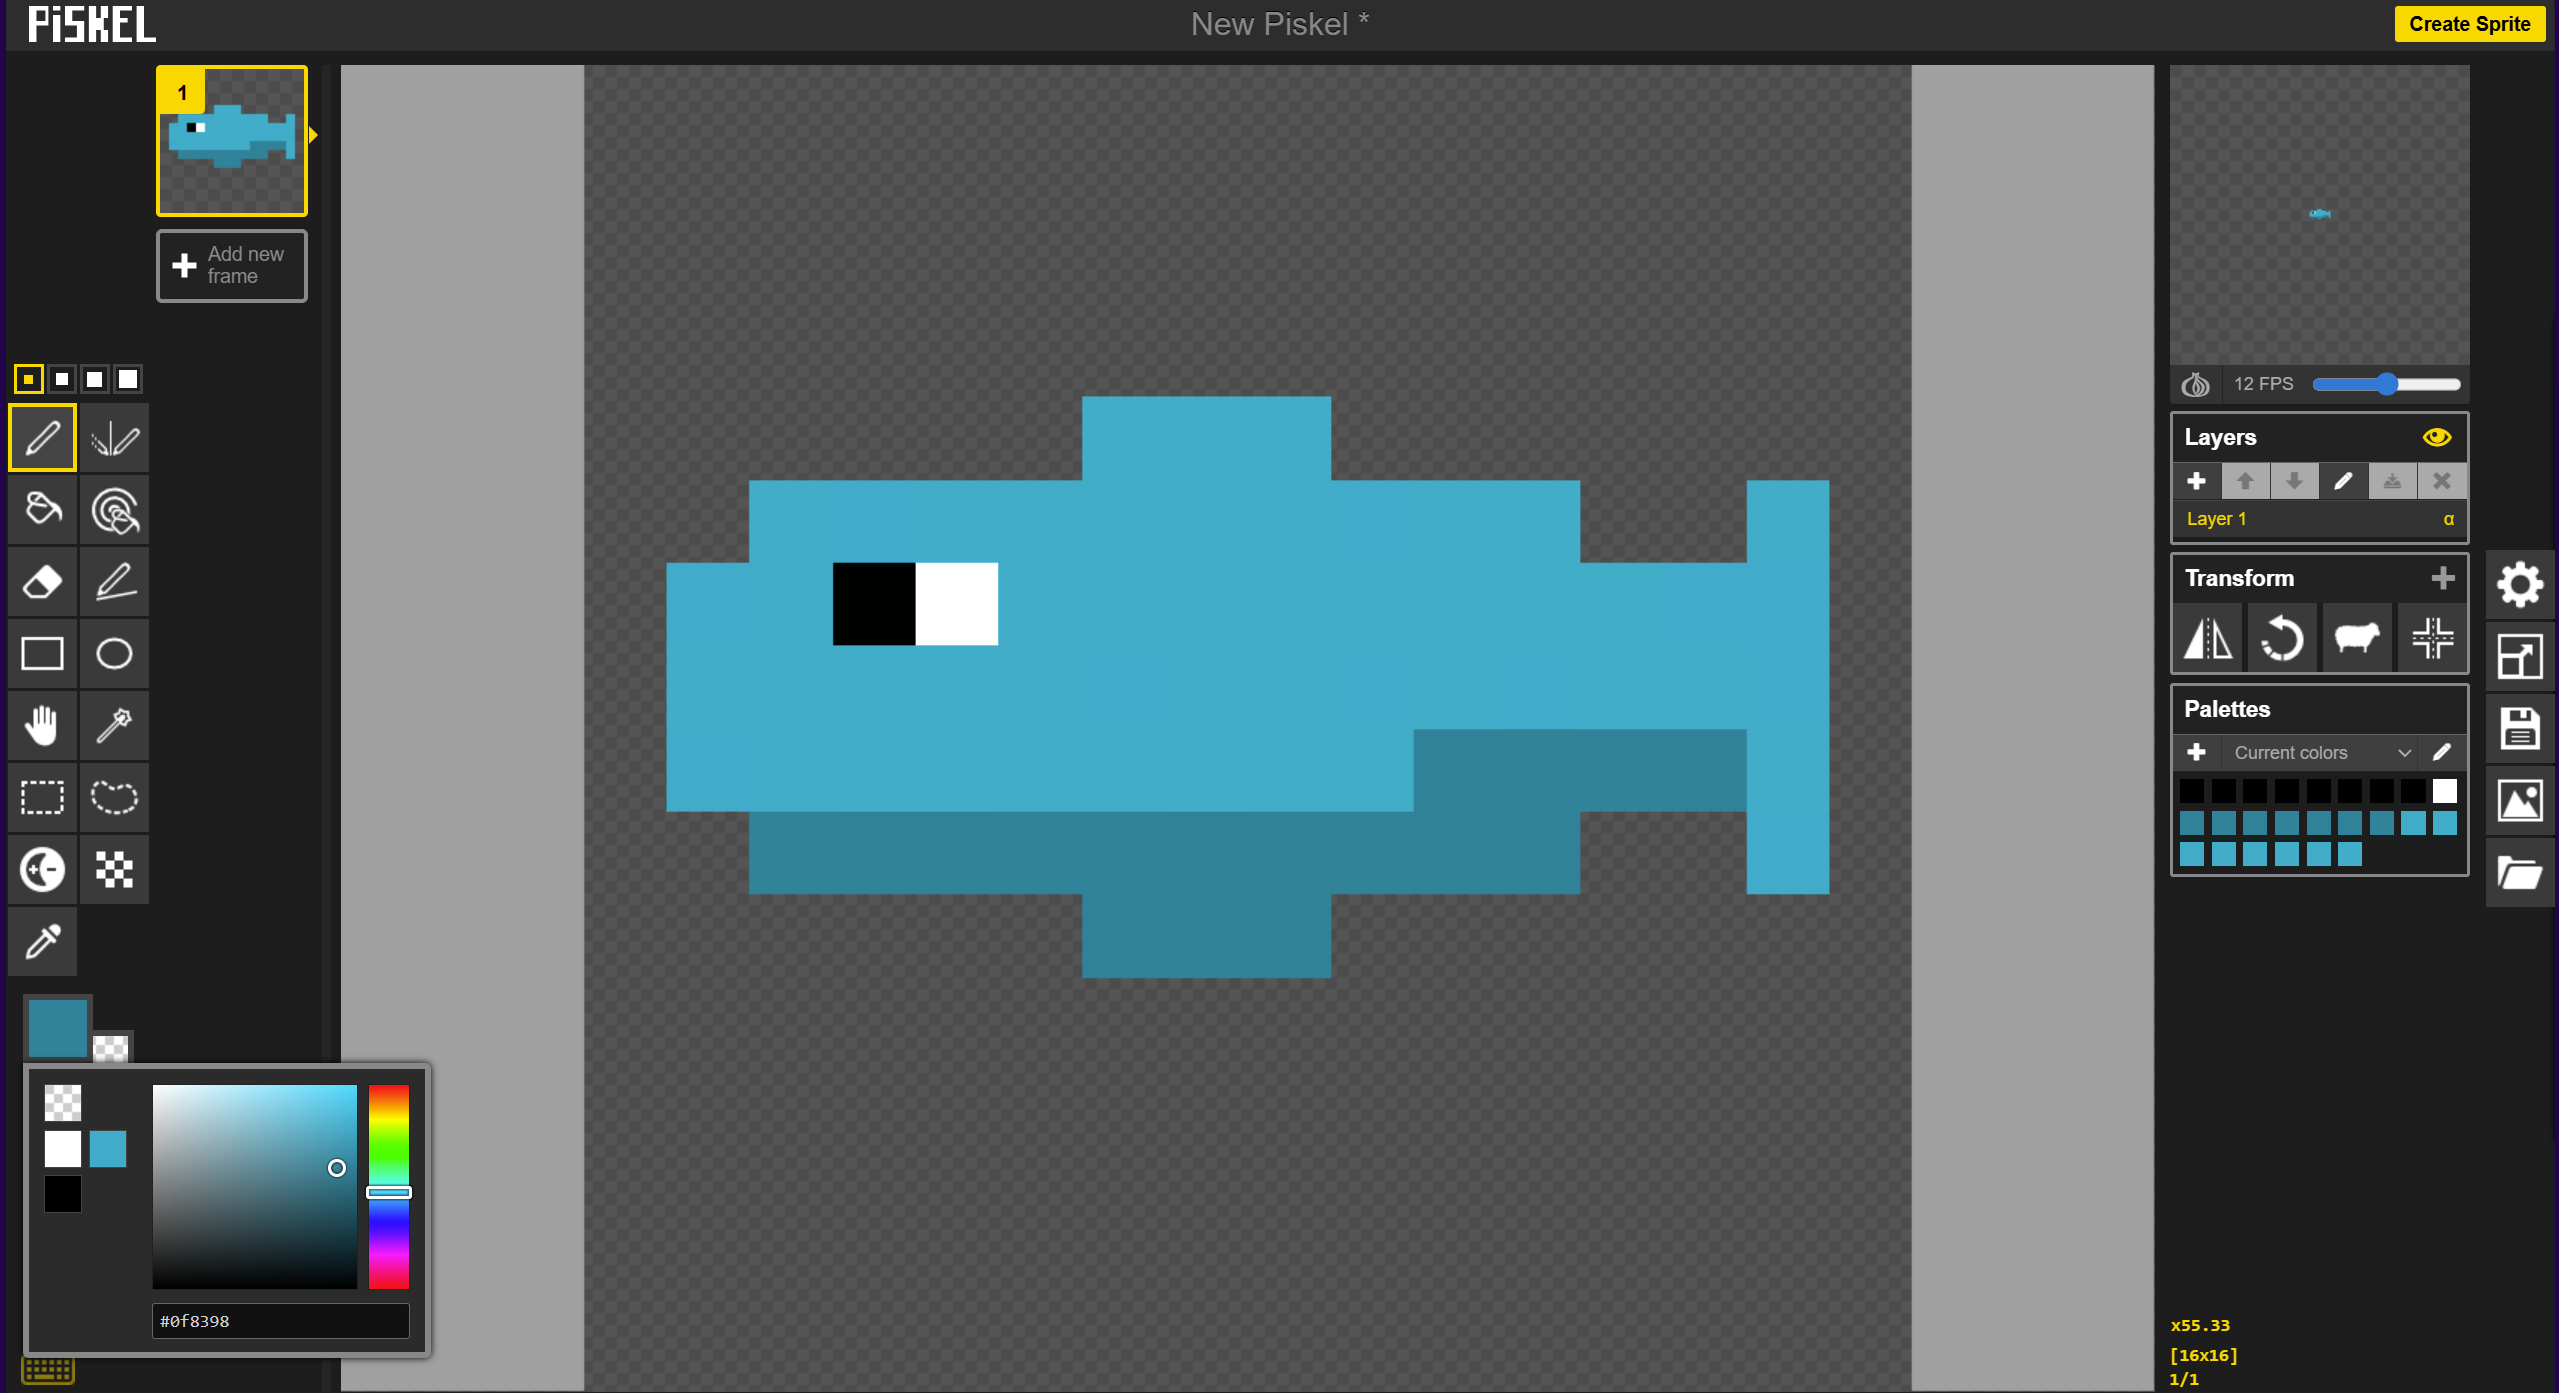
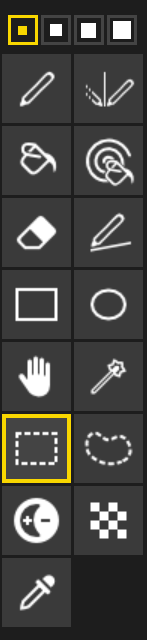
The drawing tools on the far left of the interface allows you to draw on the canvas and make minor edits. The very top squares allow you change the size of your brush and the color selection on the bottom allow you to change your primary and secondary colors. Tools have different uses depending on input. For example, left clicking on the pen tool draws a dot. Adding shift, alt, or ctrl adds additional features. Hovering over a tool allows you to see what is available. Right click allows you to use your secondary color instead of your primary. When your secondary color is transparent, like seen in the screenshot, right clicking acts as an eraser.
Some particularly useful tools are:
- Pen - Allows you to draw things
- Paint Bucket - Fills in areas of the same color
- Eraser - Get rid of any pixels and make them transparent
- Rectangle and Circle - Draws a perfect rectangle or circle
- Rectangle or Lasso Selection - Allows you to select an area on the canvas
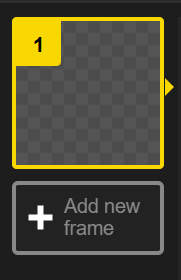
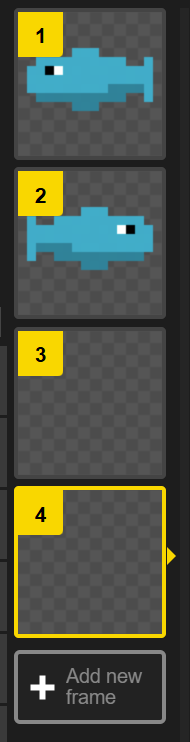
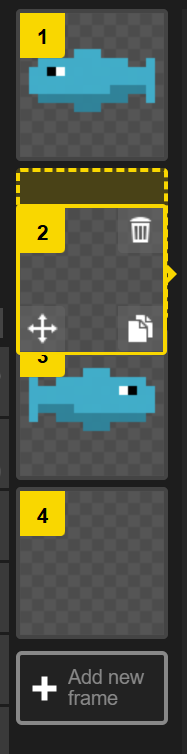
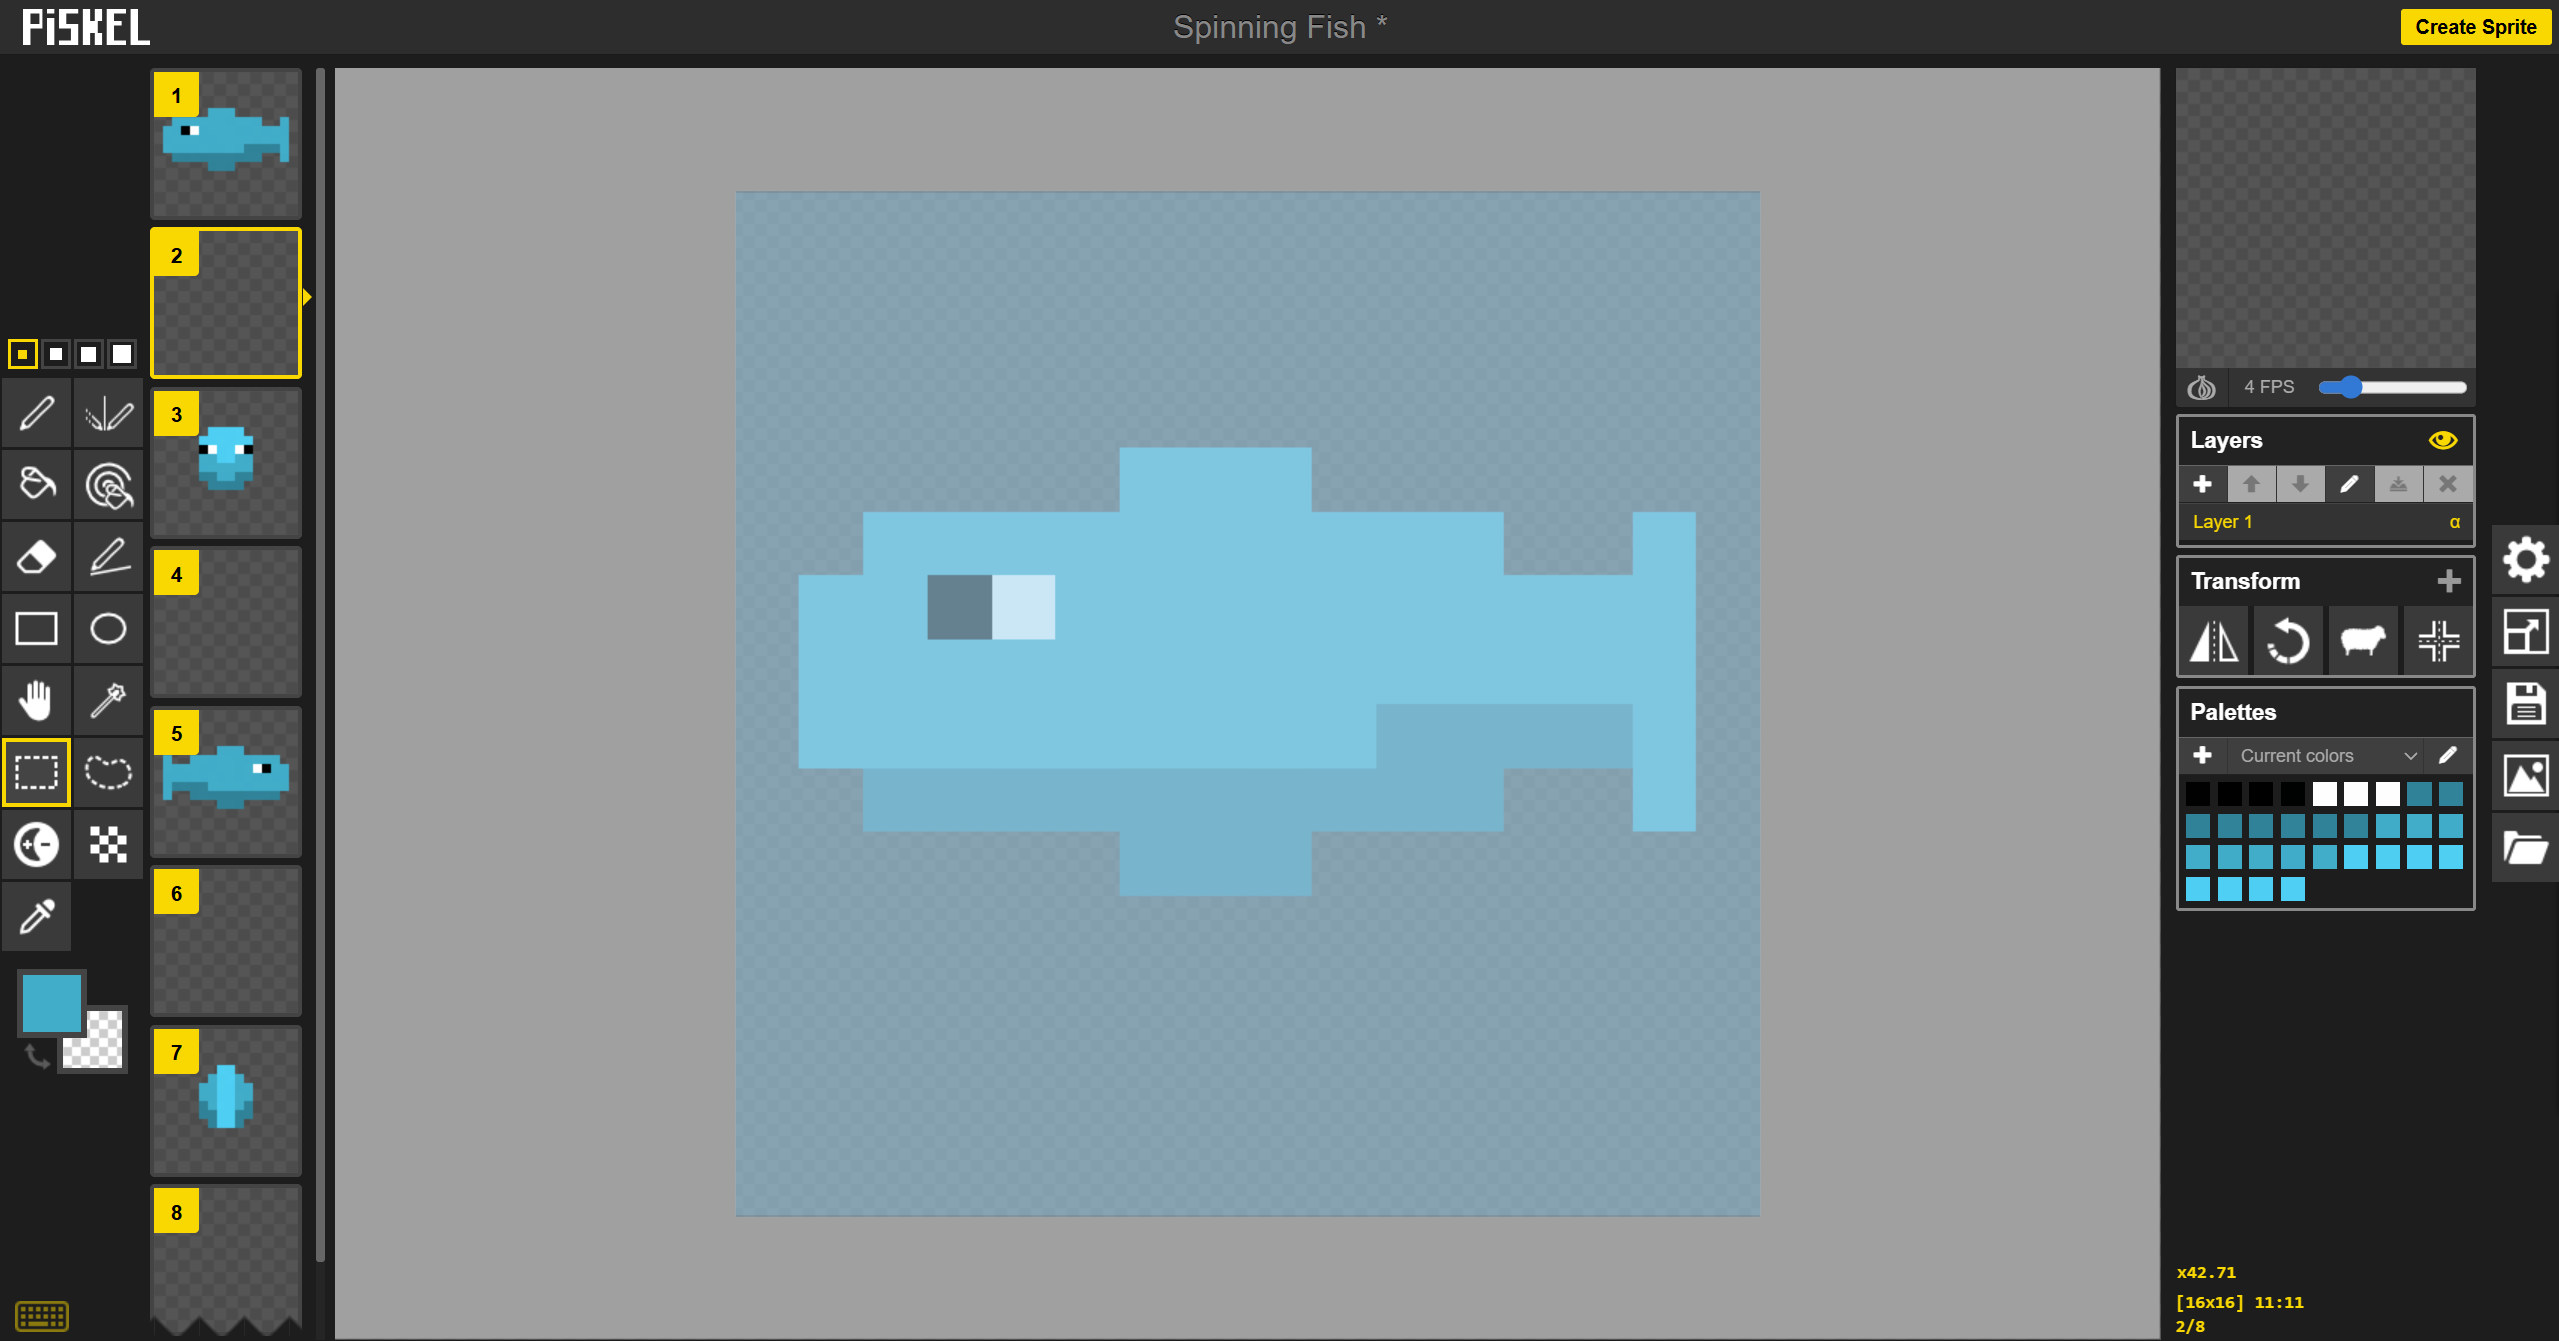
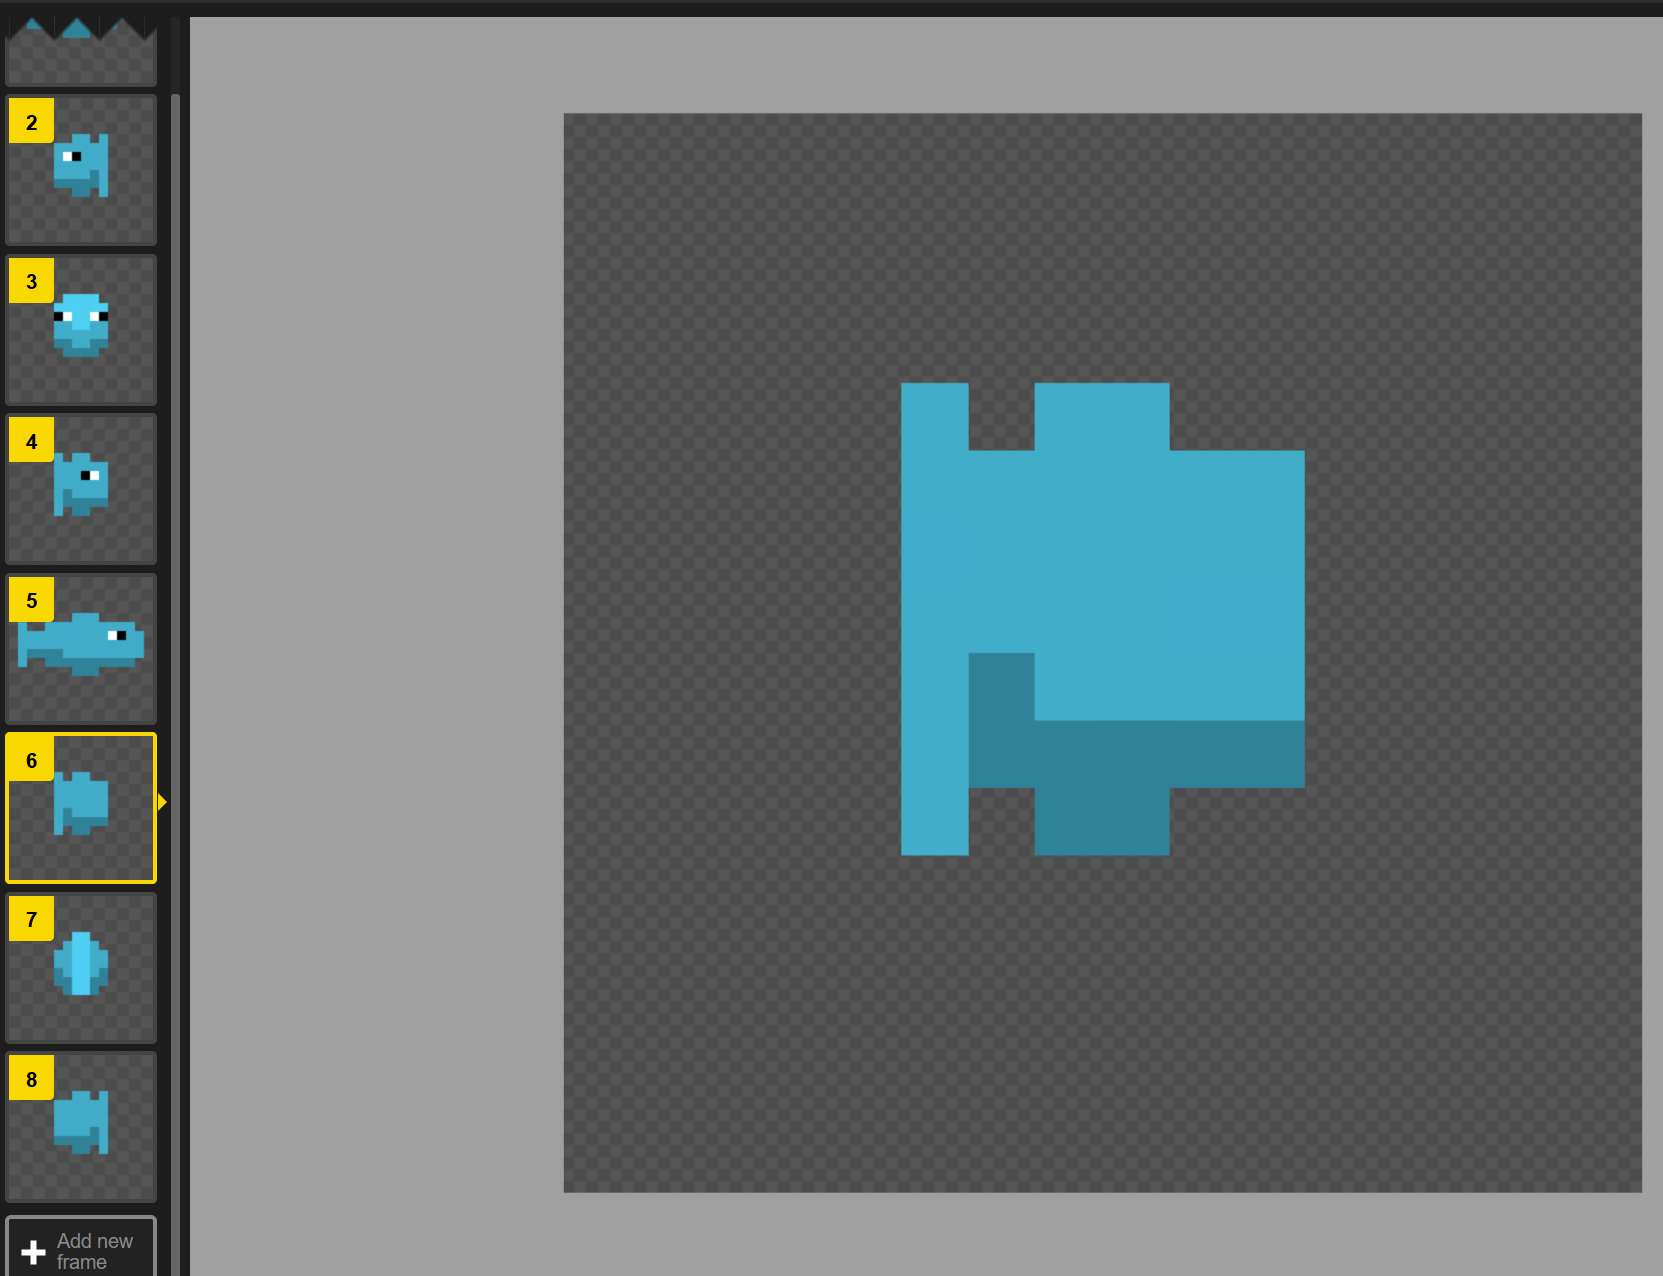
Frames
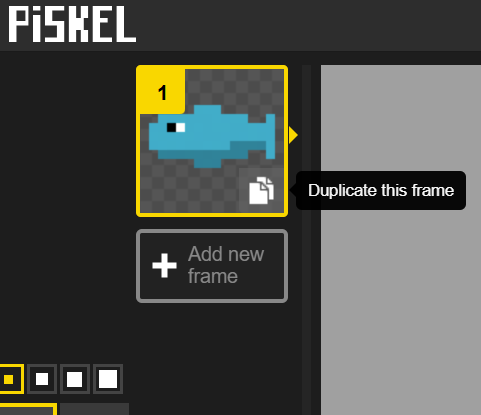
Frames allow you to animate your art. Animations flip through 1 frame to the next to portray movement and change. For example, if you wanted to animate a train moving forward 10 meters, you’d have the first frame being its starting point, then the next has the train moved forward a meter, and the next another meter, and so on and so forth until it has reached its destination mark. When frames are flipped through quickly, they look like continuous movement. The more frames the more fluid, but also the more work.
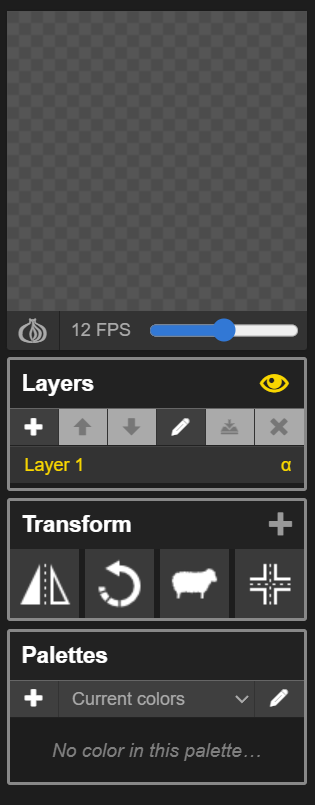
Advanced Tools
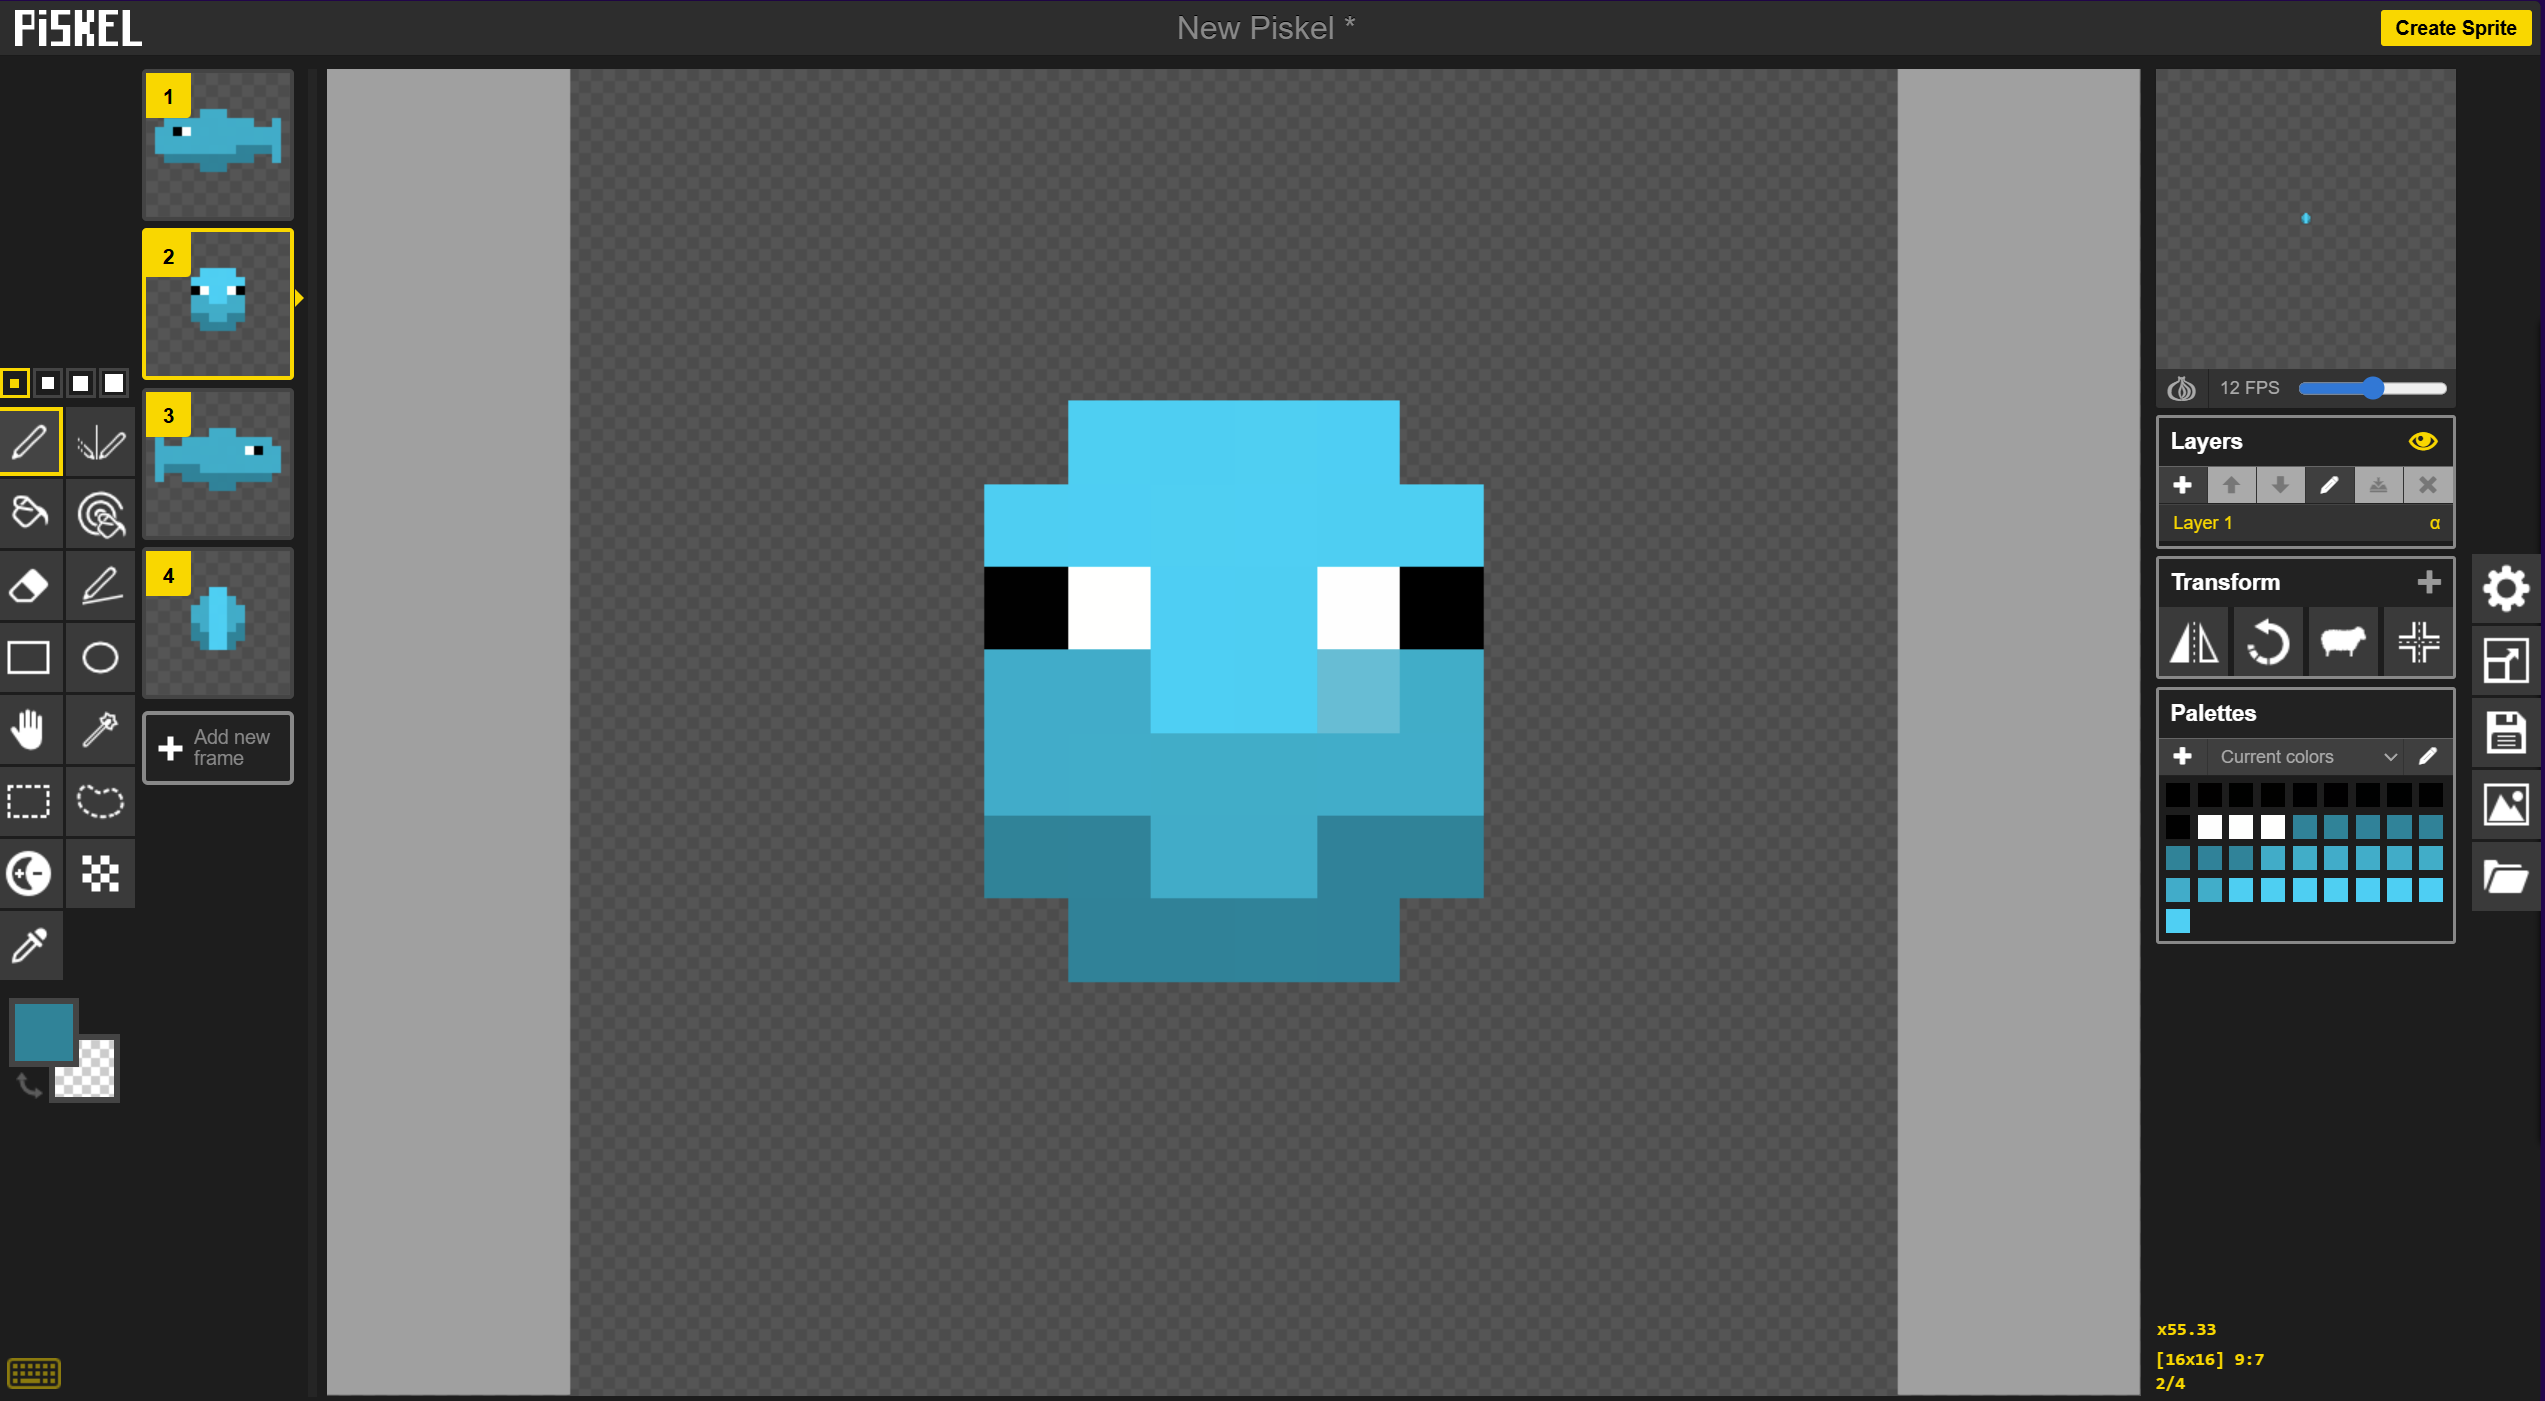
The advanced tools section contains all the miscellaneous tools. The very top is an animation preview that shows you what the animation currently looks like. You can change the frames per second with the slider below it. Under that is the layers. Layers allow you to separate sections of a frame so they can be edited easier. For example, you may have a layer for the base artwork and another layer for the shadows. Below that is the transform section. Transform tools allow you to make major changes to the canvas or selected area such as mirroring it, rotating it, cloning the current layers to all frames, and aligning the item in the center of the canvas.
File Tools
These tools allow you to edit preferences, resize the canvas, save your work, export your frames, or import a files.
- Preferences allow you to change grid settings and other miscellaneous settings.
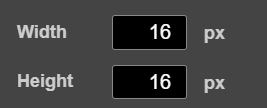
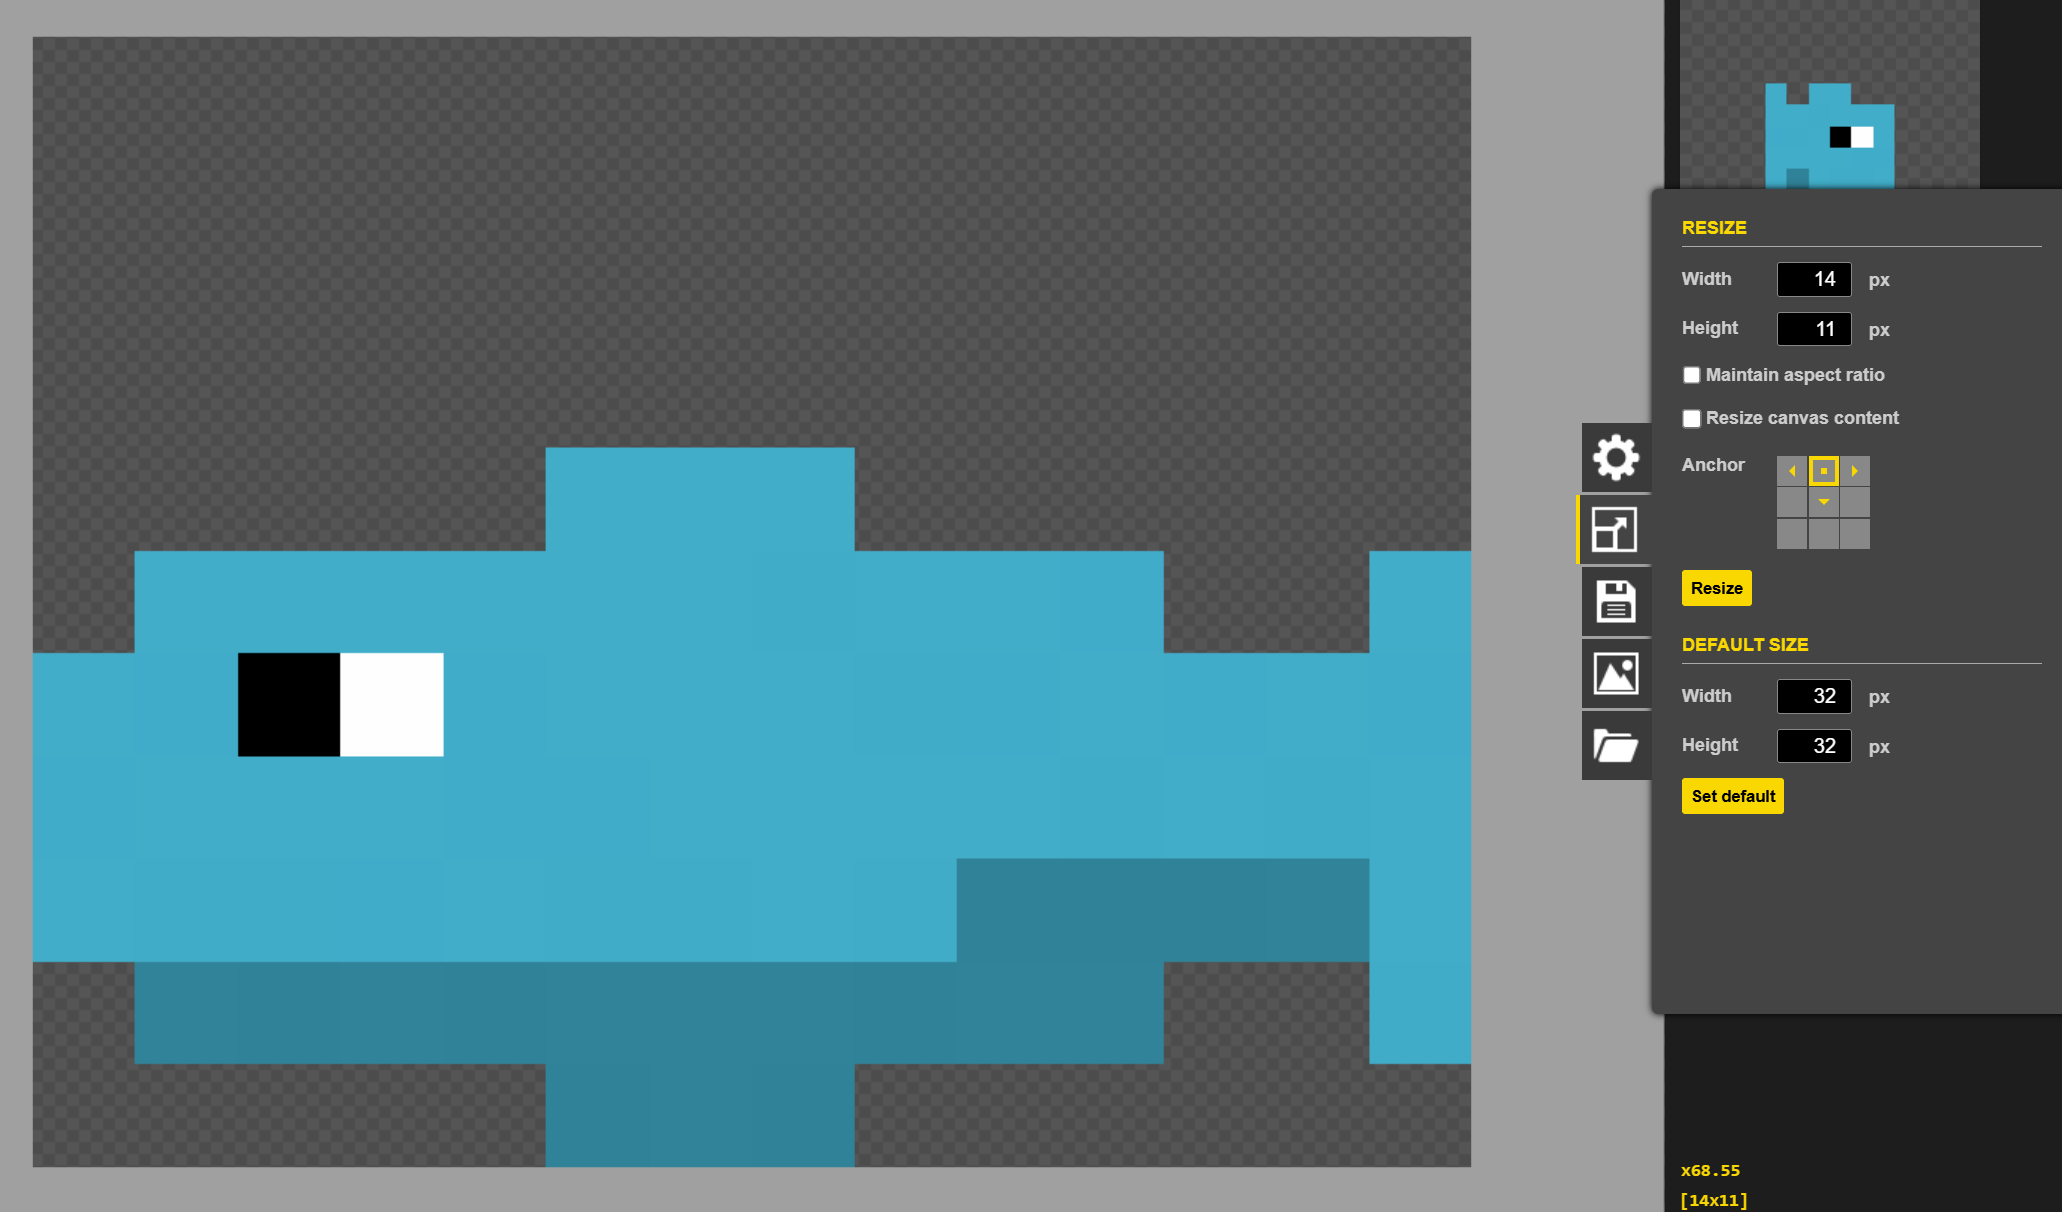
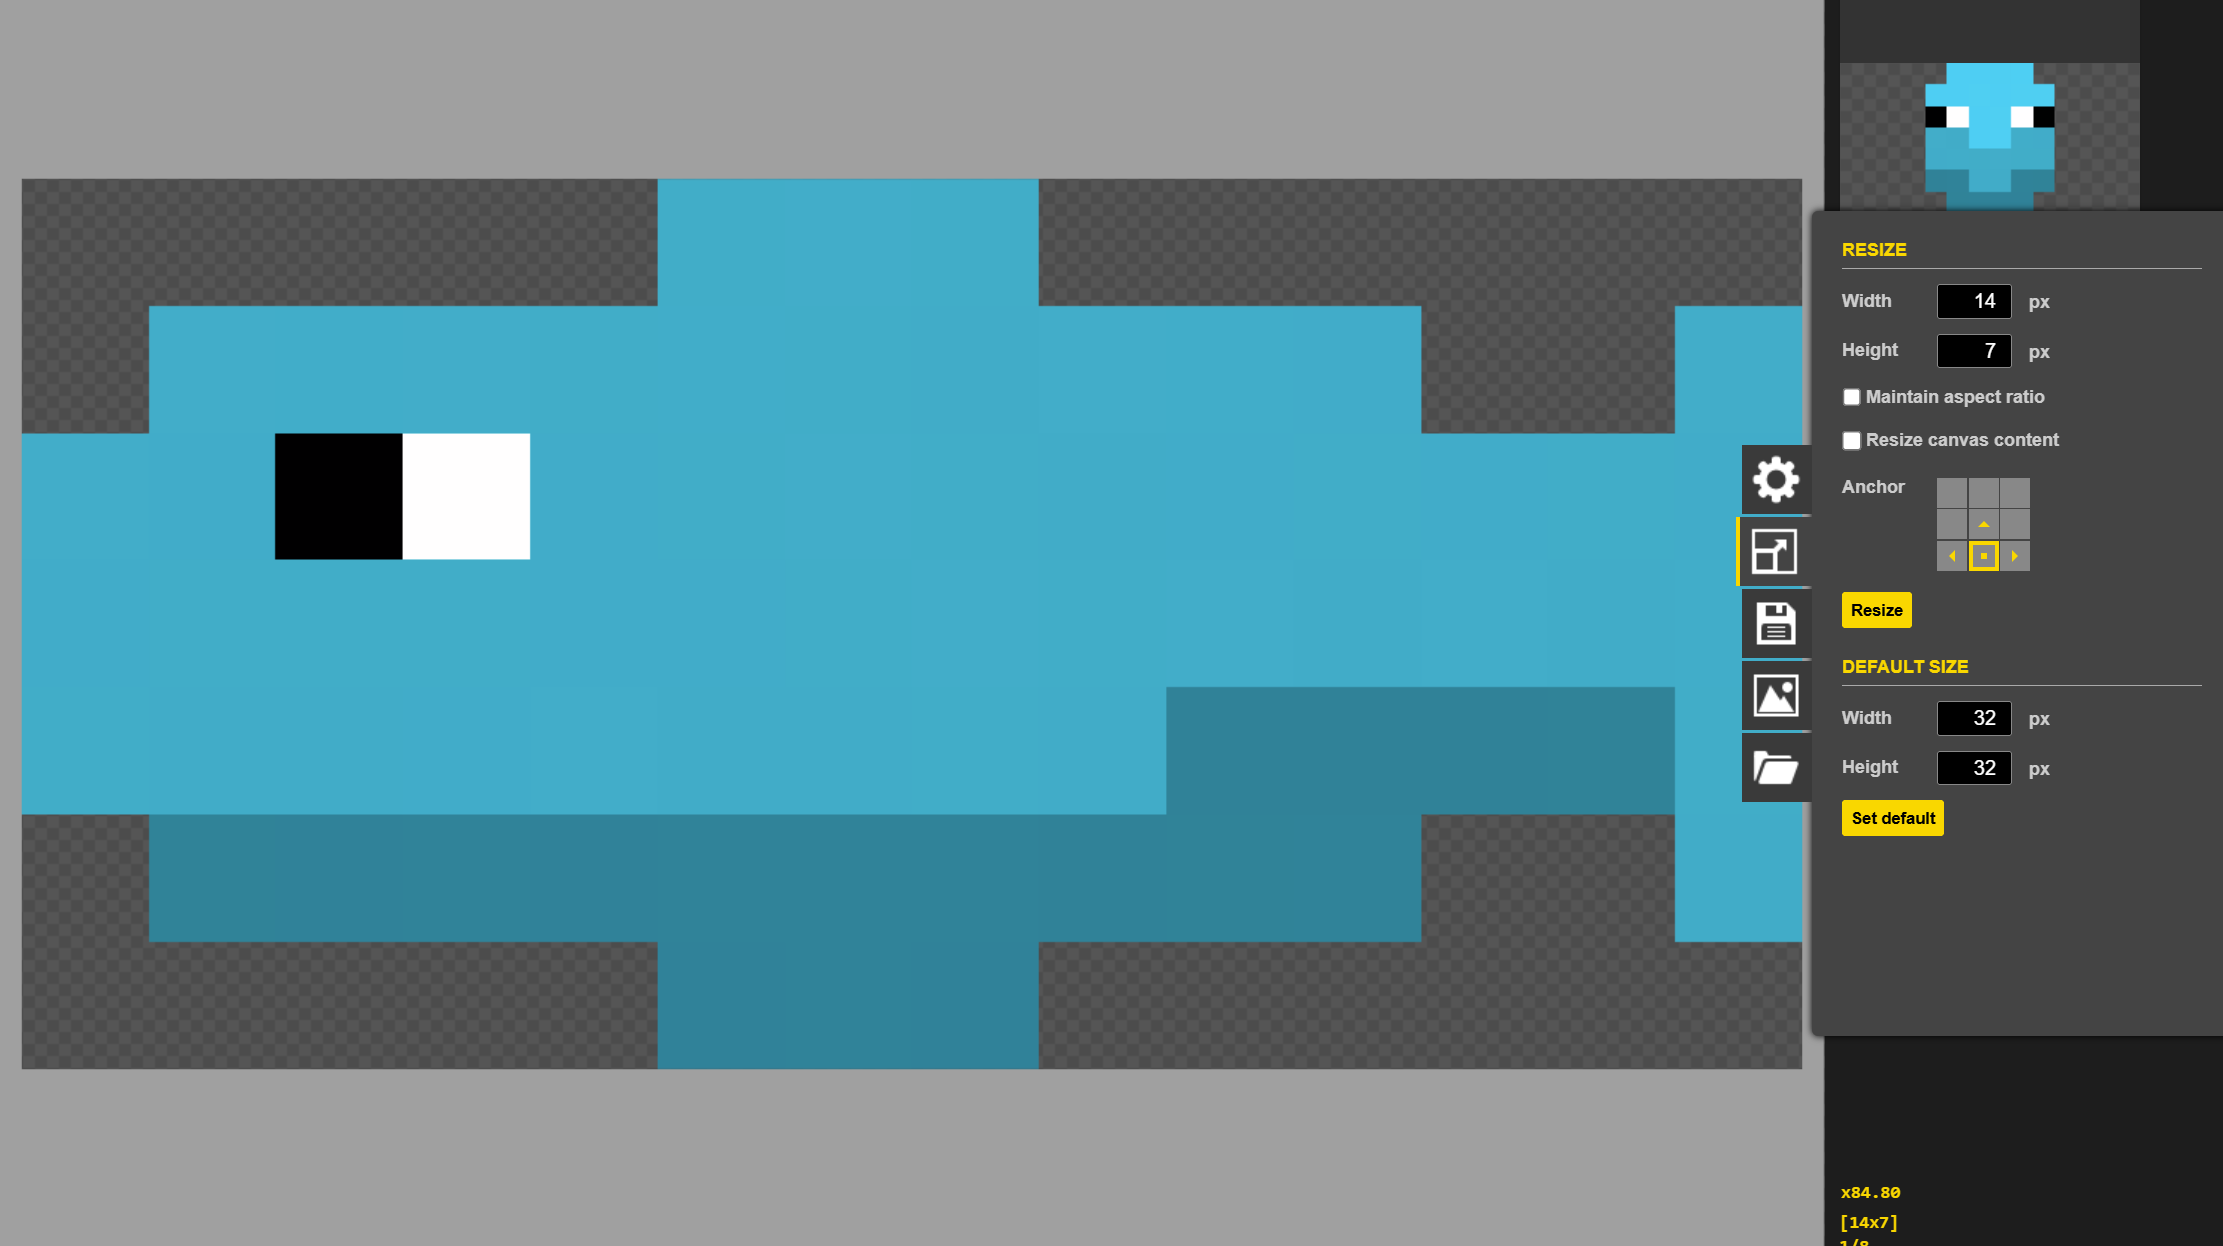
- Resize allows you to set the height and width, scale the image, and decide where the anchor for the resize happens at is. For example, setting the anchor to the top left and increasing the height and width will add space to the right and bottom.
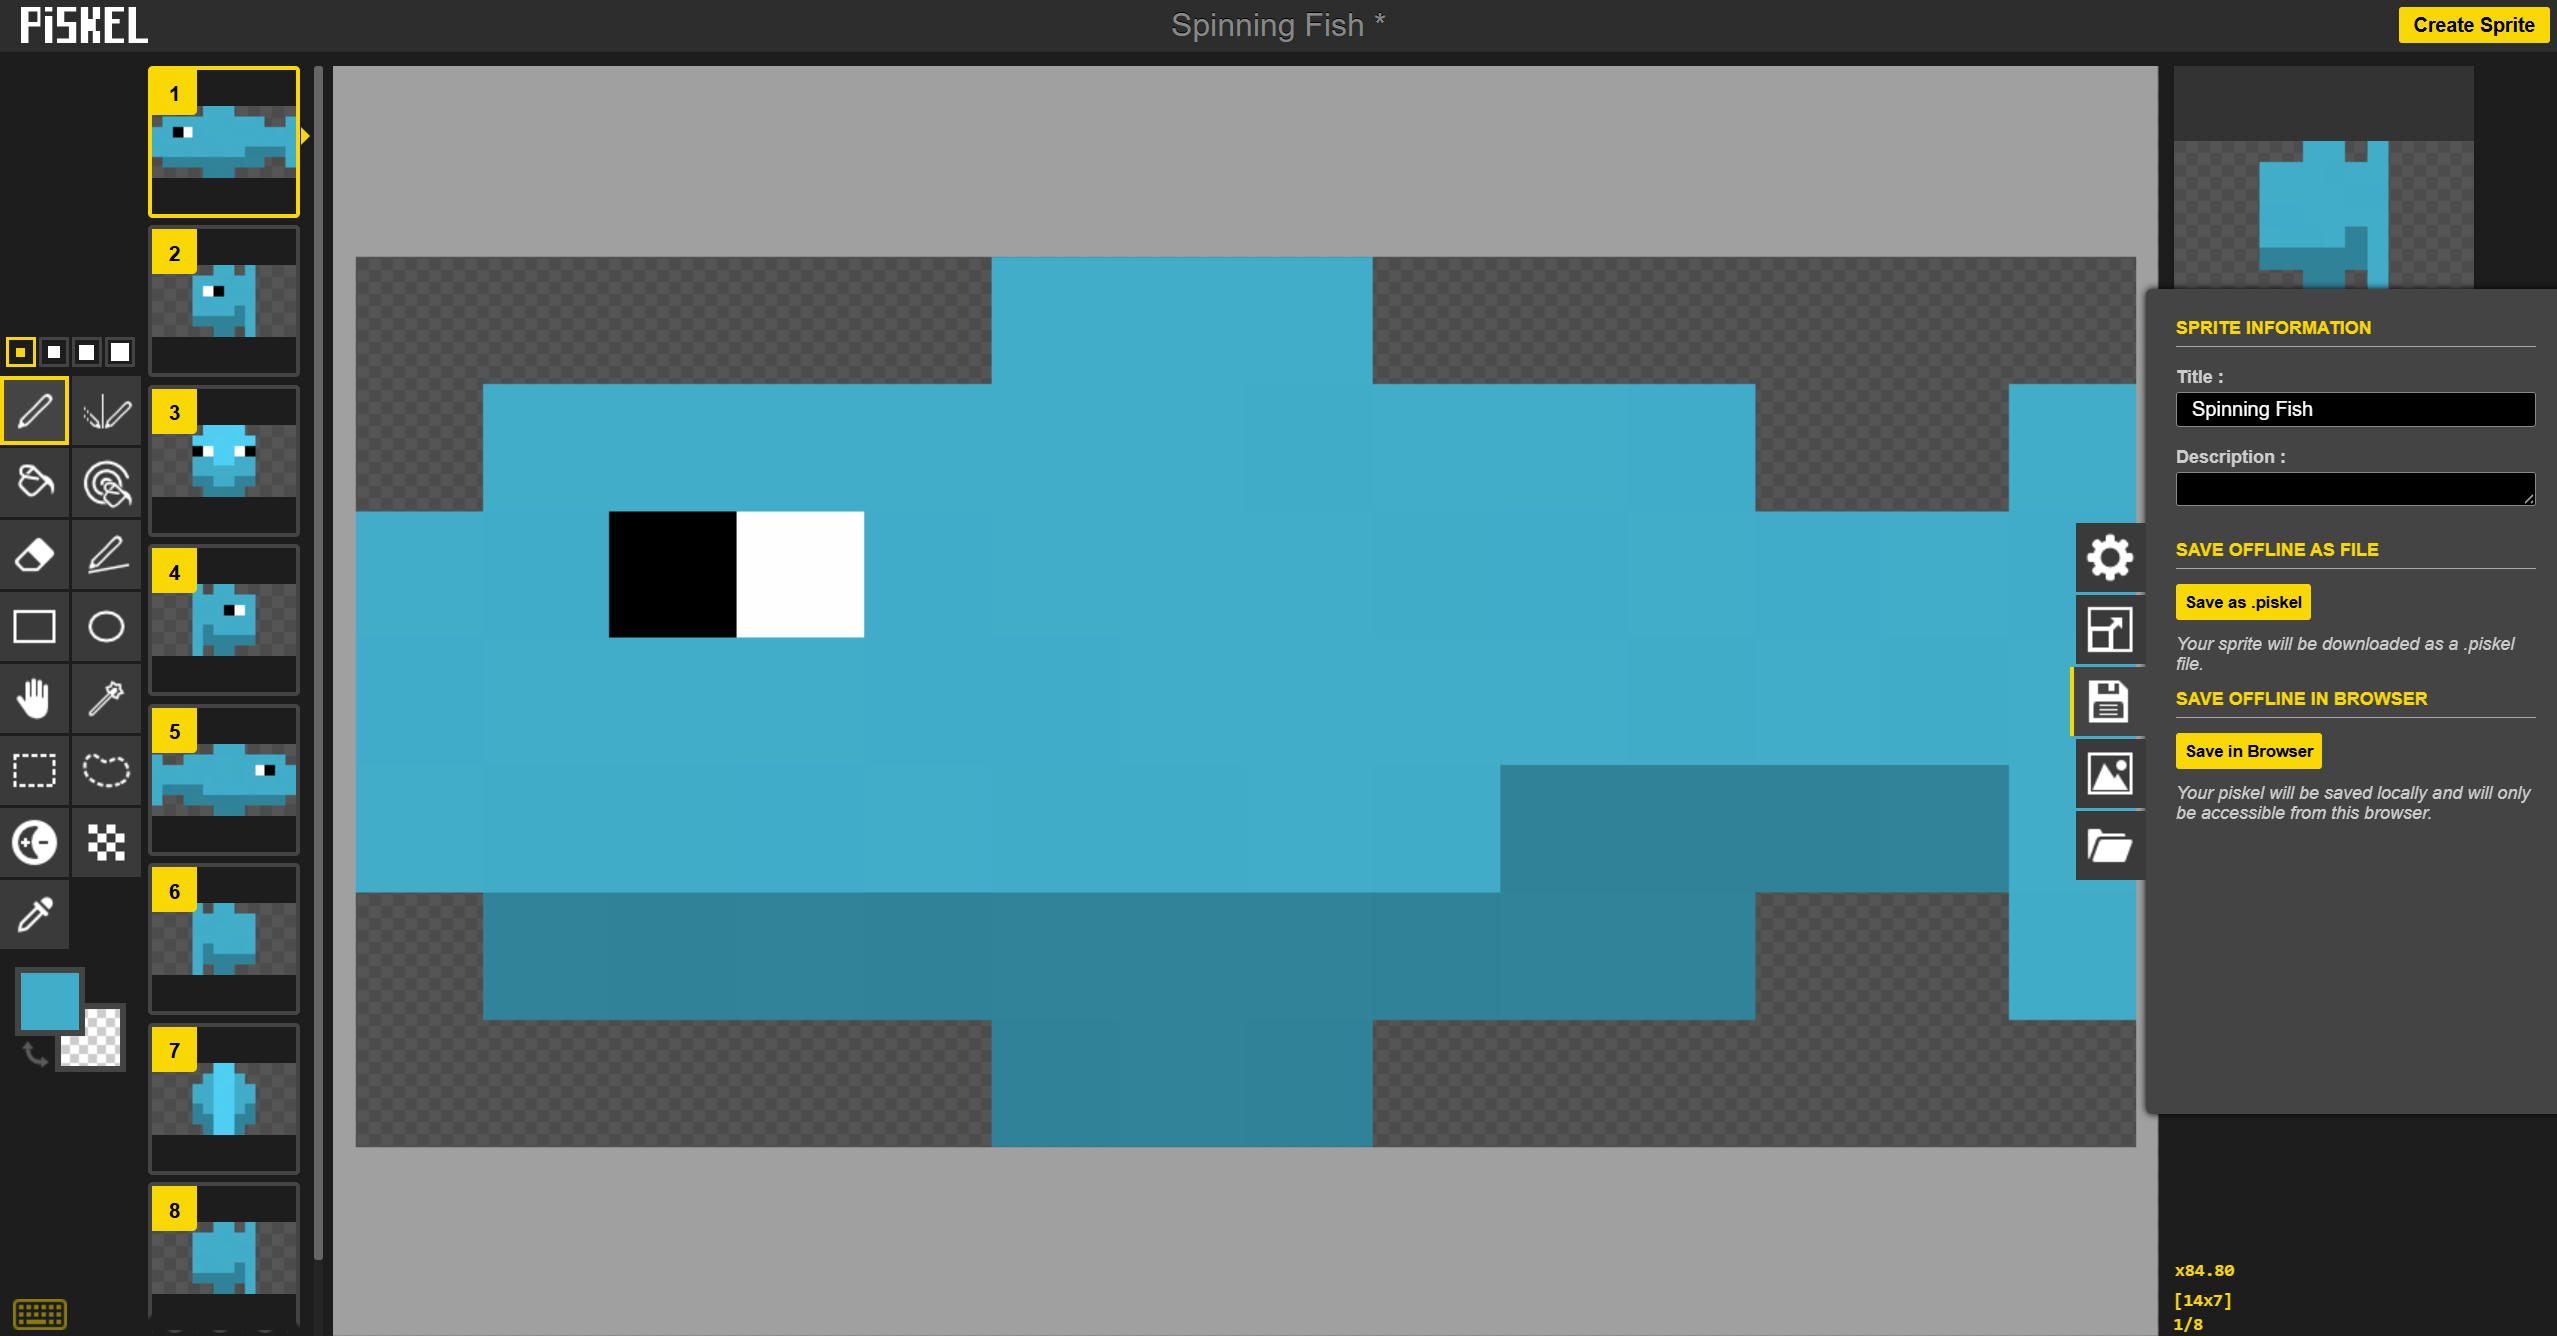
- Saving the file either allows you to either save it in your browser or as a downloadable .piskel file. I have found downloading the file is more reliable.
- Exporting your work allows you to download the animated gif, a png sprite sheet, a zip archive of all the frames as individual pngs, or as a C file. It also allows you to scale it up to 32 times its original size. Note: Exporting as a gif using Brave browser creates random yellow dots. Use a different browser instead.
- Finally, you can import the previously mentioned .piskel file or browser saves to continue where you left off or import png, jpg, or gif files.


 for example.